


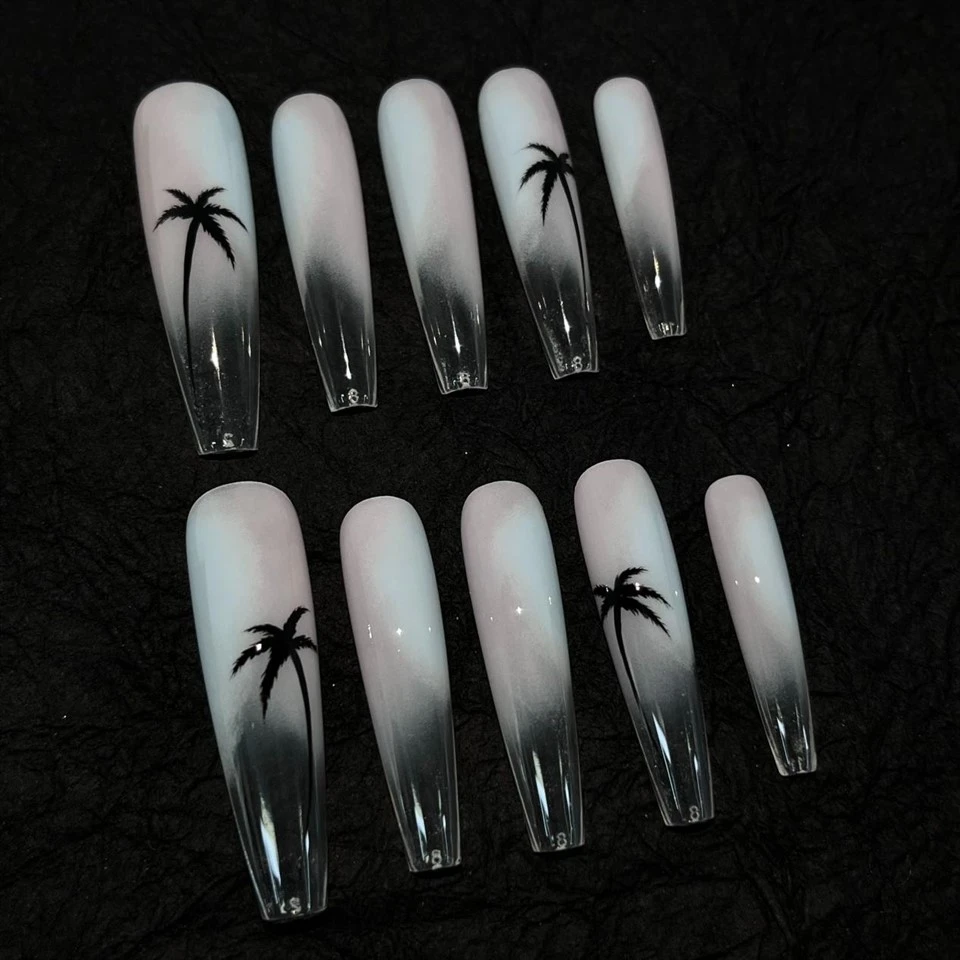
Ombre painting on nails has become a popular trend in the world of nail art, offering a seamless blend of colors that creates a gradient effect. However, when it comes to thick nails, achieving the perfect ombre can be a bit challenging. As a leading supplier of Ombre Painting Nails, I've gathered some valuable tips to help you master this technique on thick nails.
Understanding Thick Nails
Thick nails can be a result of various factors, including genetics, age, or certain health conditions. They often have a more pronounced curvature and a thicker nail plate, which can affect the application and appearance of nail polish. When applying ombre painting, it's essential to take these characteristics into account to ensure a smooth and even finish.
Preparing the Nails
The first step in any nail art process is to prepare the nails properly. This is especially important for thick nails, as they may require more attention to detail.

- Clean and Trim: Start by cleaning your nails thoroughly to remove any dirt, oil, or old nail polish. Trim your nails to your desired length and shape, using a nail file to smooth the edges.
- Buff the Surface: Gently buff the surface of your nails to create a smooth base for the nail polish. This will help the polish adhere better and prevent it from chipping or peeling.
- Apply a Base Coat: A good base coat is essential for protecting your nails and ensuring a long-lasting finish. Choose a base coat that is specifically designed for thick nails, as it will provide extra strength and support.
Choosing the Right Colors
The key to a successful ombre nail design is choosing the right colors. When working with thick nails, it's important to select colors that complement each other and create a seamless gradient effect.
- Select a Color Scheme: Decide on a color scheme that suits your personal style and the occasion. You can choose from a wide range of colors, including pastels, neons, metallics, and neutrals.
- Choose Complementary Colors: To create a harmonious ombre effect, choose colors that are complementary to each other on the color wheel. For example, if you're using a blue color, you can pair it with a yellow or orange color for a striking contrast.
- Consider the Nail Shape and Length: The shape and length of your nails can also affect the choice of colors. For example, if you have short, square nails, you may want to choose lighter colors to make your nails appear longer. On the other hand, if you have long, oval nails, you can experiment with darker colors to add depth and dimension.
Applying the Ombre Effect
Once you've prepared your nails and chosen the right colors, it's time to apply the ombre effect. There are several techniques you can use to achieve this, depending on your skill level and personal preference.
- Sponge Method: The sponge method is one of the most popular techniques for creating an ombre effect on nails. To use this method, you'll need a small makeup sponge, some nail polish, and a piece of cardboard or paper. Start by applying a base color to your nails and letting it dry completely. Then, pour a small amount of each color of nail polish onto the cardboard or paper. Dip the sponge into the nail polish, starting with the lightest color and working your way up to the darkest color. Press the sponge onto your nails, starting at the tip and working your way down to the cuticle. Repeat this process until you achieve the desired gradient effect.
- Brush Method: The brush method is another technique you can use to create an ombre effect on nails. To use this method, you'll need a small paintbrush, some nail polish, and a piece of cardboard or paper. Start by applying a base color to your nails and letting it dry completely. Then, pour a small amount of each color of nail polish onto the cardboard or paper. Dip the brush into the nail polish, starting with the lightest color and working your way up to the darkest color. Apply the nail polish to your nails, starting at the tip and working your way down to the cuticle. Use a light touch and blend the colors together as you go. Repeat this process until you achieve the desired gradient effect.
- Airbrushing Method: The airbrushing method is a more advanced technique that requires a special airbrush tool. To use this method, you'll need an airbrush, some nail polish, and a compressor. Start by applying a base color to your nails and letting it dry completely. Then, pour a small amount of each color of nail polish into the airbrush. Hold the airbrush about 2-3 inches away from your nails and spray the nail polish onto your nails, starting at the tip and working your way down to the cuticle. Use a light touch and blend the colors together as you go. Repeat this process until you achieve the desired gradient effect.
Finishing Touches
Once you've applied the ombre effect to your nails, it's time to add some finishing touches to make your nails look even more beautiful.

- Apply a Top Coat: A good top coat is essential for protecting your nails and giving them a shiny, professional finish. Choose a top coat that is specifically designed for nail art, as it will provide extra durability and protection.
- Add Some Embellishments: You can add some embellishments to your nails to make them look even more unique and stylish. Some popular embellishments include rhinestones, studs, glitter, and stickers. You can use a small amount of nail glue to attach the embellishments to your nails.
- Maintain Your Nails: To keep your ombre nails looking their best, it's important to maintain them properly. Avoid using your nails as tools, and wear gloves when doing household chores or working with chemicals. Also, make sure to moisturize your nails and cuticles regularly to keep them healthy and hydrated.
Other Nail Art Options
In addition to ombre painting, we also offer a wide range of other nail art options, including French Painting Nails, Coconut Tree Painting Nails, and Sfumato Technique Handcrafted Nails. These options allow you to explore different styles and create unique looks that suit your personal taste.

Conclusion
Ombre painting on thick nails can be a bit challenging, but with the right tips and techniques, you can achieve a beautiful and professional-looking finish. As a supplier of Ombre Painting Nails, we're committed to providing you with high-quality products and expert advice to help you create the perfect nail art. If you're interested in learning more about our products or have any questions about ombre painting on thick nails, please don't hesitate to contact us. We'd love to hear from you and help you achieve your nail art goals.
References
- "Nail Art Basics: Ombre Nails." Bye Bye Boring Nails.
- "How to Do Ombre Nails." Allure.
- "The Ultimate Guide to Ombre Nails." PopSugar.
