


Hey there! As a press on nail supplier, I often get asked, "Can I paint press on nails?" Well, the short answer is yes, you absolutely can! In this blog, I'm gonna break down everything you need to know about painting press on nails, from why you might want to do it to how to do it right.
Why Paint Press on Nails?
There are a bunch of reasons why someone might want to paint their press on nails. First off, it's all about customization. Press on nails come in a ton of styles, but sometimes you just want something unique. Maybe you've got a special event coming up and you want your nails to match your outfit perfectly. Or perhaps you're just feeling creative and want to express yourself through your nail art. Painting press on nails gives you the freedom to create a one - of - a - kind look that you won't find anywhere else.
Another reason is cost - effectiveness. Buying pre - painted press on nails for every single occasion can get pretty expensive. By buying plain or semi - finished press on nails and painting them yourself, you can save a lot of money in the long run. You can buy a bulk pack of Solid Color Semi - finished Nails and then use your own nail polish to transform them into different designs as often as you like.
Types of Press on Nails Suitable for Painting
Not all press on nails are created equal when it comes to painting. The best ones to paint are semi - finished nails. These nails are usually made of high - quality materials that can easily hold nail polish.
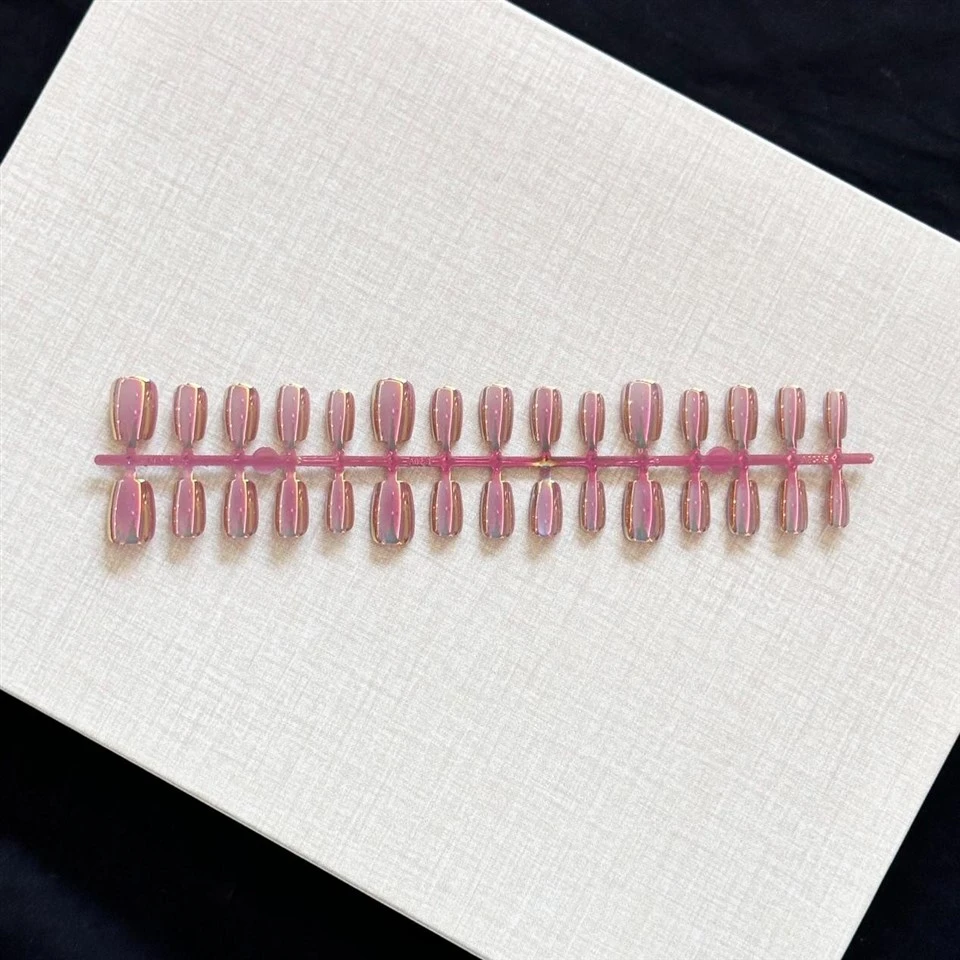
- Solid Color Semi - finished Nails: These are a great starting point. They come in a variety of solid colors, which can serve as a base for your nail art. You can add patterns, glitter, or even do a French tip over the solid color. Check out our Solid Color Semi - finished Nails for a wide range of options.
- Cartoon Pattern Semi - finished Nails: If you're into fun and quirky designs, these are perfect. You can enhance the existing cartoon patterns with more colors or add your own elements to make them even more unique. Take a look at our Cartoon Pattern Semi - finished Nails to get some inspiration.
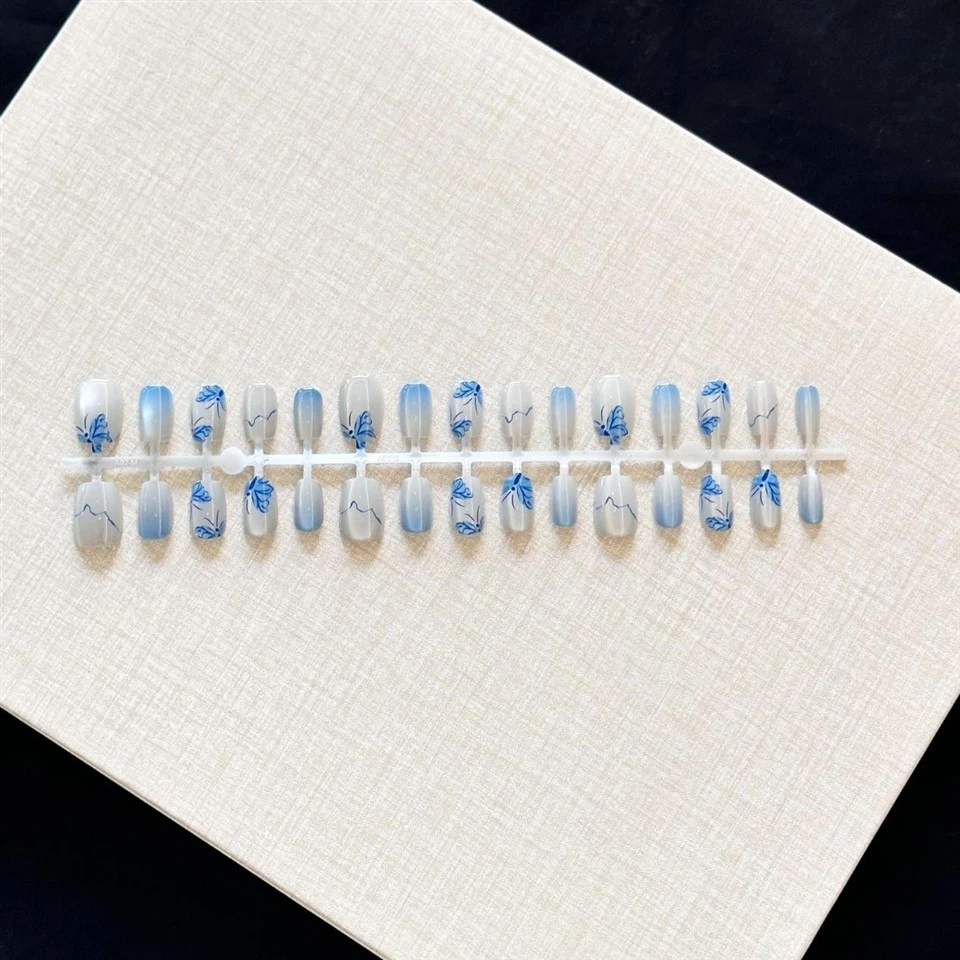
- Ink Painting Semi - finished Nails: For a more artistic and elegant look, ink painting semi - finished nails are a great choice. You can blend the ink - like patterns with nail polish to create a beautiful, watercolor - inspired effect. Explore our Ink Painting Semi - finished Nails for some amazing designs.
Preparing the Press on Nails for Painting
Before you start painting, you need to prepare the press on nails properly. This will ensure that the nail polish adheres well and lasts longer.
- Clean the Nails: Use a nail polish remover without acetone to clean the surface of the press on nails. Acetone can damage the material of the nails. Wipe them down with a cotton ball soaked in the remover to get rid of any dirt, oil, or residue.
- Sand the Surface (Optional): If you want the nail polish to stick even better, you can lightly sand the surface of the nails with a fine - grit nail file. Just be careful not to sand too hard, as you don't want to damage the nails.
- Apply a Base Coat: Once the nails are clean and dry, apply a thin layer of base coat. This will help the nail polish adhere to the nails and also prevent staining. Let the base coat dry completely before moving on to the next step.
Painting the Press on Nails
Now comes the fun part - painting the nails! Here are some tips to help you get a great result:
- Choose the Right Nail Polish: Opt for high - quality nail polish that dries quickly and has good coverage. You can use regular nail polish, gel polish, or even acrylic paint depending on the look you want to achieve.
- Apply Thin Coats: Instead of applying one thick coat of nail polish, it's better to apply two or three thin coats. This will give you a smoother finish and prevent the nail polish from chipping or peeling. Let each coat dry completely before applying the next one.
- Get Creative with Designs: You can use different techniques to create various designs on your press on nails. For example, you can use nail art brushes to draw patterns, use stickers or decals, or even do a marble effect. There are tons of tutorials available online that can give you inspiration for different nail art designs.
- Apply a Top Coat: Once you're happy with the color and design of your nails, apply a top coat. This will add a shiny finish to your nails and also protect the nail polish from chipping. Let the top coat dry completely before wearing the nails.
Curing and Drying
If you're using gel polish, you'll need to cure it under a UV or LED lamp. Follow the instructions on the gel polish kit to determine the correct curing time. For regular nail polish, make sure to give it enough time to dry completely. You can use a quick - dry spray or a drying drops to speed up the drying process.
Tips for Maintaining Painted Press on Nails
To make your painted press on nails last longer, here are some maintenance tips:
- Avoid Harsh Chemicals: When doing household chores or using cleaning products, wear gloves to protect your nails from harsh chemicals. Chemicals can cause the nail polish to fade or chip.
- Be Gentle with Your Nails: Don't use your nails as tools to open cans or scratch things. This can cause the nail polish to chip or the nails to break.
- Touch Up as Needed: If you notice any chips or scratches on your nails, you can do a quick touch - up with nail polish. Just make sure to clean the area first and let the touch - up dry completely.
Conclusion
So, there you have it! You definitely can paint press on nails, and it's a great way to customize your nails and save money. Whether you're a beginner or an experienced nail artist, painting press on nails is a fun and creative activity. If you're interested in purchasing high - quality semi - finished press on nails for your next nail art project, feel free to get in touch with us for more information and to start a procurement negotiation. We're always happy to help you find the perfect nails for your needs.
References
- "The Complete Guide to Nail Art" by Jane Smith
- "Nail Care 101" by Lisa Johnson
