


Geometric design nails have long been a staple in the world of nail art, offering a modern and sophisticated look that appeals to a wide range of individuals. As a leading supplier of Geometric Design Nails, I'm always on the lookout for innovative ways to enhance these designs and provide our customers with the most unique and eye-catching products. One such trend that has been gaining popularity is the addition of a holographic effect to geometric design nails. In this blog post, I'll share some tips and techniques on how to add a holographic effect to geometric design nails, along with some inspiration to get you started.
Understanding the Basics of Holographic Nails
Before we dive into the process of adding a holographic effect to geometric design nails, it's important to understand what holographic nails are and how they work. Holographic nails are nails that have a rainbow-like effect, which is created by using special holographic pigments or powders. These pigments reflect light in different ways, creating a multi-colored and iridescent appearance that changes depending on the angle of the light.
There are several ways to achieve a holographic effect on nails, including using holographic nail polishes, holographic powders, or holographic foils. Each method has its own advantages and disadvantages, so it's important to choose the one that works best for you and your desired look.

Choosing the Right Holographic Products
As a Geometric Design Nails supplier, I have access to a wide range of holographic products that can be used to add a holographic effect to geometric design nails. Here are some of the products that I recommend:
- Holographic Nail Polishes: Holographic nail polishes are a popular choice for adding a holographic effect to nails because they are easy to use and come in a variety of colors. Look for nail polishes that contain holographic pigments or glitter to achieve the desired effect. Some popular brands of holographic nail polishes include OPI, Essie, and China Glaze.
- Holographic Powders: Holographic powders are another great option for adding a holographic effect to nails. These powders can be applied over a base coat of nail polish using a makeup brush or a sponge applicator. They come in a variety of colors and finishes, including matte and shiny. Some popular brands of holographic powders include Born Pretty Store, MoYou London, and Konad.
- Holographic Foils: Holographic foils are a more advanced option for adding a holographic effect to nails. These foils are made of thin sheets of holographic material that can be applied to nails using a special adhesive. They come in a variety of colors and patterns, including geometric designs. Some popular brands of holographic foils include Nail Vinyls, Chameleon Nails, and Color Club.
Preparing the Nails
Before you start adding a holographic effect to your geometric design nails, it's important to prepare the nails properly. Here are the steps that I recommend:
- Trim and Shape the Nails: Use a nail clipper to trim the nails to your desired length, and then use a nail file to shape the nails. I recommend shaping the nails into a square or oval shape for a more modern and sophisticated look.
- Buff the Nails: Use a nail buffer to smooth the surface of the nails and remove any ridges or bumps. This will help the holographic products adhere better to the nails.
- Clean the Nails: Use a nail polish remover to clean the nails and remove any dirt or oil. This will help the holographic products dry faster and last longer.
- Apply a Base Coat: Apply a base coat of nail polish to the nails and let it dry completely. This will help protect the nails and prevent the holographic products from staining them.
Adding the Geometric Design
Once the nails are prepared, it's time to add the geometric design. Here are the steps that I recommend:
- Choose a Geometric Design: There are many different geometric designs that you can choose from, including triangles, squares, circles, and diamonds. You can use a nail art stencil or a freehand technique to create the geometric design.
- Apply the Geometric Design: Use a nail art brush or a nail art pen to apply the geometric design to the nails. You can use a single color or multiple colors to create a more complex design. Let the geometric design dry completely before moving on to the next step.
- Add a Top Coat: Apply a top coat of nail polish to the nails and let it dry completely. This will help protect the geometric design and give it a shiny finish.
Adding the Holographic Effect
Now that the geometric design is in place, it's time to add the holographic effect. Here are the steps that I recommend:
- Choose a Holographic Product: Depending on your desired look, choose a holographic product that you want to use, such as a holographic nail polish, a holographic powder, or a holographic foil.
- Apply the Holographic Product: If you're using a holographic nail polish, apply it over the geometric design and let it dry completely. If you're using a holographic powder, apply it over the geometric design using a makeup brush or a sponge applicator. If you're using a holographic foil, apply it over the geometric design using a special adhesive.
- Add a Top Coat: Apply a top coat of nail polish to the nails and let it dry completely. This will help protect the holographic effect and give it a shiny finish.
Tips and Tricks
Here are some tips and tricks that I recommend to help you achieve the best results when adding a holographic effect to geometric design nails:
- Use a Light Base Color: To make the holographic effect stand out more, use a light base color for the geometric design. This will help the holographic pigments or powders reflect more light and create a more vibrant effect.
- Experiment with Different Holographic Products: Don't be afraid to experiment with different holographic products to find the one that works best for you and your desired look. You can try using a combination of holographic nail polishes, holographic powders, and holographic foils to create a more unique and complex effect.
- Use a Sealant: To make the holographic effect last longer, use a sealant over the holographic product. This will help protect the holographic pigments or powders from chipping and peeling.
- Be Patient: Adding a holographic effect to geometric design nails can be a time-consuming process, so it's important to be patient and take your time. Make sure each layer of nail polish or holographic product is dry before moving on to the next step.
Inspiration
Here are some examples of geometric design nails with a holographic effect to inspire you:
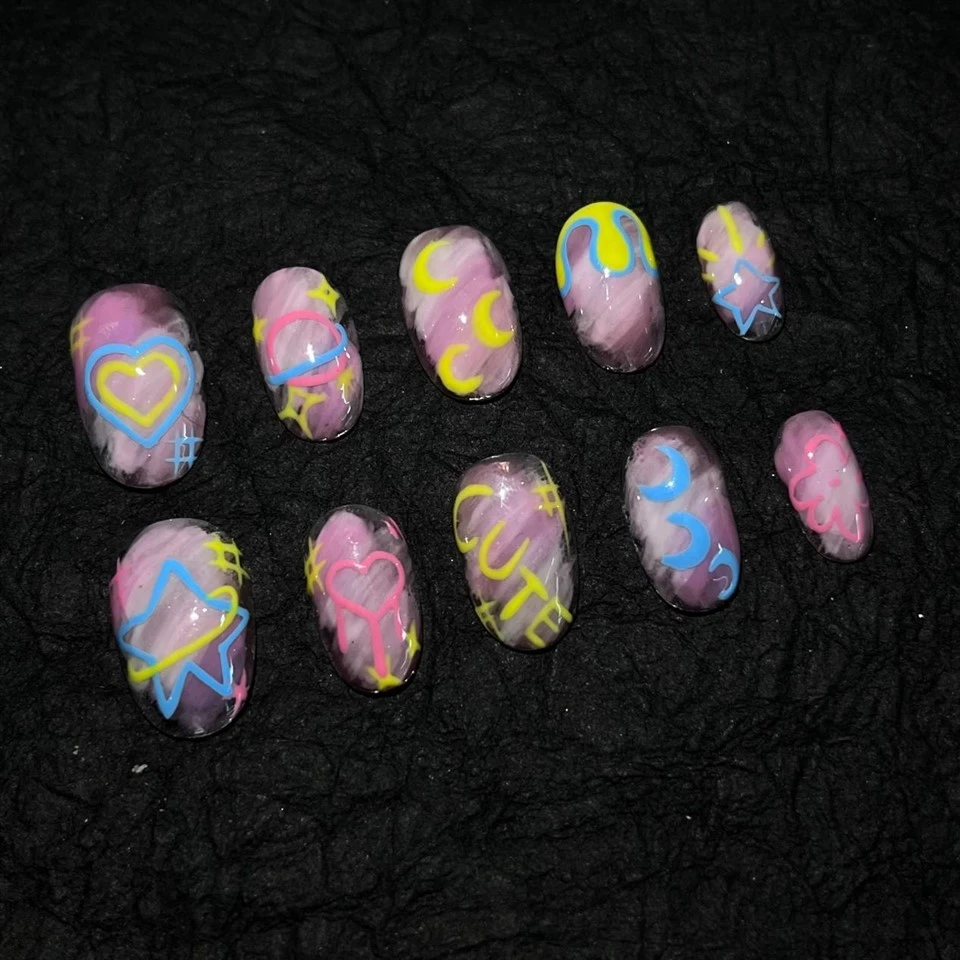
- Cartoon Graffiti Nails: These nails feature a cartoon graffiti design with a holographic effect. The combination of the colorful cartoon characters and the iridescent holographic effect creates a fun and playful look.
- Cutieip Graffiti Nails: These nails feature a cutieip graffiti design with a holographic effect. The combination of the cute and colorful design and the iridescent holographic effect creates a sweet and feminine look.
- Halloween Graffiti Nails: These nails feature a Halloween graffiti design with a holographic effect. The combination of the spooky and colorful design and the iridescent holographic effect creates a fun and festive look.
Conclusion
Adding a holographic effect to geometric design nails is a great way to create a unique and eye-catching look. By following the tips and techniques outlined in this blog post, you can achieve a professional-looking holographic effect on your geometric design nails. As a Geometric Design Nails supplier, I'm always here to help you find the right products and techniques to create the perfect look for your nails. If you're interested in purchasing our Geometric Design Nails or have any questions about adding a holographic effect to your nails, please contact us to discuss your needs and start a procurement negotiation.
References
- "Nail Art Trends: Geometric Designs and Holographic Effects." Byrdie, 2023.
- "How to Create Holographic Nails at Home." Allure, 2023.
- "Geometric Nail Art Ideas for Every Occasion." Cosmopolitan, 2023.
