


Hey there, nail art lovers! I'm stoked to share my expertise with you all as a supplier of Heart Pattern Nails. Today, we're diving deep into the world of creating a mind-blowing 3D effect on heart pattern nails. It's gonna be a fun ride, so let's get started!
Getting the Basics Right
Before we jump into the 3D part, we need to make sure our nails are in tip-top shape. First things first, give your nails a good clean. Trim them to your desired length and file the edges into a smooth shape. I usually go for a rounded or oval shape because it's super flattering on most hands.
Next up, it's time for some cuticle care. Push those cuticles back gently using a cuticle pusher. This not only gives your nails a cleaner look but also provides a better surface for the nail polish to adhere to. After that, buff the nails lightly to remove any ridges. But don't overdo it, or you might damage the nail surface.
Now, let's talk base coat. Applying a good quality base coat is crucial. It protects your natural nails from staining and helps the nail polish last longer. I like to use a base coat with a bit of strengthening properties, especially if my nails are a bit weak. Just apply one thin layer and let it dry completely. This might take a few minutes, so be patient!
Choosing the Right Colors
The color scheme you choose can make or break your 3D heart pattern nails. You want colors that complement each other and create a sense of depth. For a classic look, you can go with different shades of red and pink. Think a bright cherry red for the main part of the heart and a softer pastel pink for the highlights.
But don't be afraid to get creative! You could also try using metallic colors like gold or silver to add a touch of glamour. For a more modern and edgy look, you might consider using black and white with a pop of a bright color like neon green or electric blue.
When selecting your nail polishes, make sure they're of good quality. Cheaper polishes might not have the same pigmentation or staying power. I always recommend investing in a few high-quality nail polishes that you can use for different designs.
Creating the Heart Shape
Now, onto the fun part – creating the heart shape! You can use a few different methods for this. One of the easiest ways is to use a heart-shaped nail sticker. Just place the sticker on your nail where you want the heart to be and press it down firmly. Then, carefully peel off the backing. This gives you a perfect heart shape right away.
If you don't have nail stickers, you can freehand the heart. Dip a small nail art brush into your chosen nail polish and start at the top of the nail. Make two curved lines that meet at the bottom to form the heart shape. It might take a few tries to get it right, but practice makes perfect!
Another option is to use a stamping plate. There are tons of stamping plates available with heart designs. Apply a thin layer of nail polish on the design, scrape it off with a scraper, and then press the stamper onto the nail. This transfers the heart shape onto your nail.
Once you have the heart shape on your nail, let it dry. Depending on the nail polish you're using, this could take anywhere from 5 to 15 minutes. You can use a quick-dry top coat or a drying spray to speed up the process.
Adding the 3D Effect
Okay, here's where the magic happens – adding the 3D effect! There are a few different techniques you can use for this. One popular method is to use nail acrylic. You'll need some acrylic powder and liquid monomer. Mix them together to form a dough-like consistency.
Take a small amount of the acrylic mixture and place it on the heart shape. Use a shaping tool to mold it into a raised 3D heart. You can add some extra details like ridges or bumps to make it look more realistic. Let the acrylic dry completely. This usually takes a few minutes, but it can vary depending on the brand and the thickness of the acrylic.
Another way to create a 3D effect is by using 3D nail gels. These gels come in different colors and textures. Apply a layer of the gel over the heart shape using a brush. You can build up the layers to make the heart more prominent. After applying the gel, cure it under a UV or LED lamp according to the instructions on the product.
You can also add some embellishments to enhance the 3D effect. Rhinestones, beads, or glitter can all add a bit of sparkle and dimension to your heart pattern nails. Just use a small amount of nail glue to attach the embellishments to the nails.
Finishing Touches
Once you've created the 3D heart, it's time for the finishing touches. Apply a clear top coat over the entire nail. This not only seals in the design but also gives your nails a shiny, professional look. Make sure to cover the 3D parts as well to protect them.
You can also add some more details around the heart, like small dots or lines using a fine nail art brush. This can make the design look more intricate and polished.

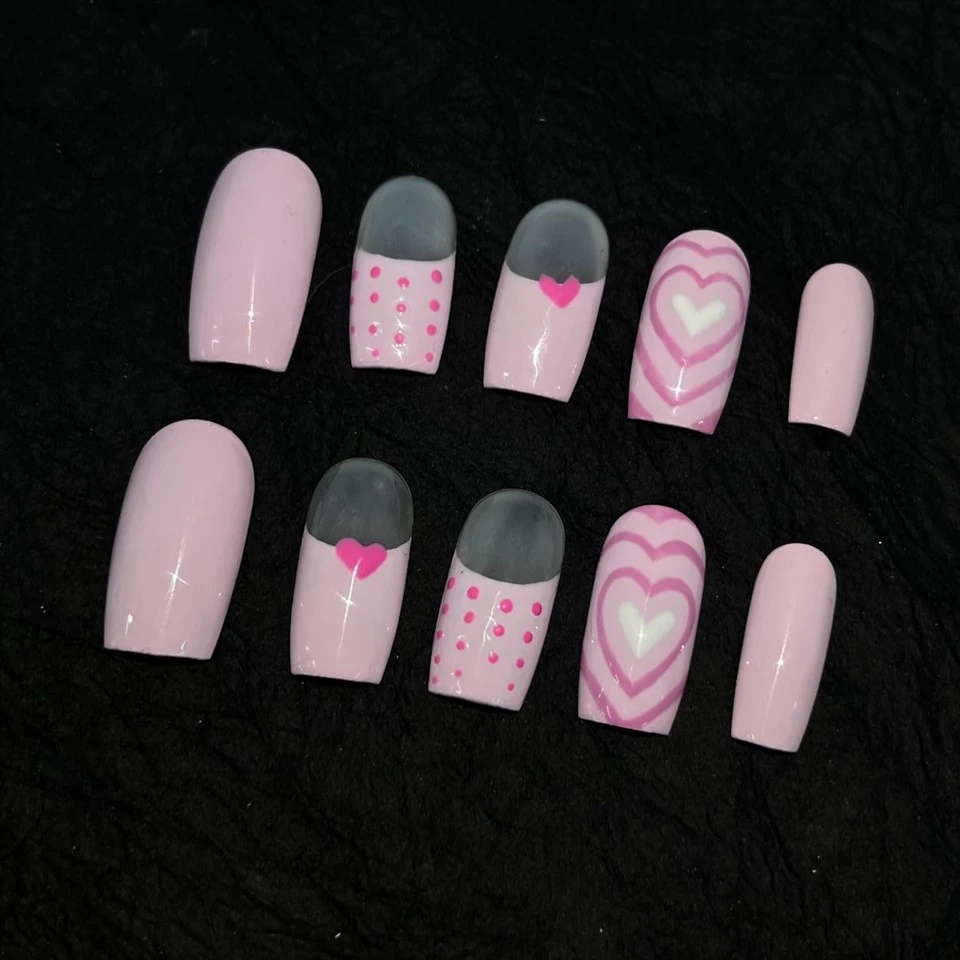
If you want to take your nails to the next level, you can try adding some Wave Point Pattern Nails or Monogram Painting Nails on the other fingers for a coordinated look.
Contact for Procurement
If you're a nail salon owner, a beauty retailer, or just someone who loves nail art and wants to stock up on high-quality Heart Pattern Nails, I'd love to hear from you! Whether you're interested in our ready-made designs or custom orders, we've got you covered. Feel free to reach out to discuss your needs and let's start a great business relationship.
References
- "The Complete Guide to Nail Art" by Jane Smith
- "Nail Art Techniques for Beginners" by Sarah Johnson
- Various online nail art tutorials and blogs
