


Animal print designs have long been a staple in the world of fashion, offering a bold and stylish statement. When it comes to nail art, creating an animal print design with plaster print nails can take your manicure to the next level. As a leading supplier of Plaster Print Nails, I'm excited to share a detailed guide on how to achieve this eye-catching look.
Understanding Plaster Print Nails
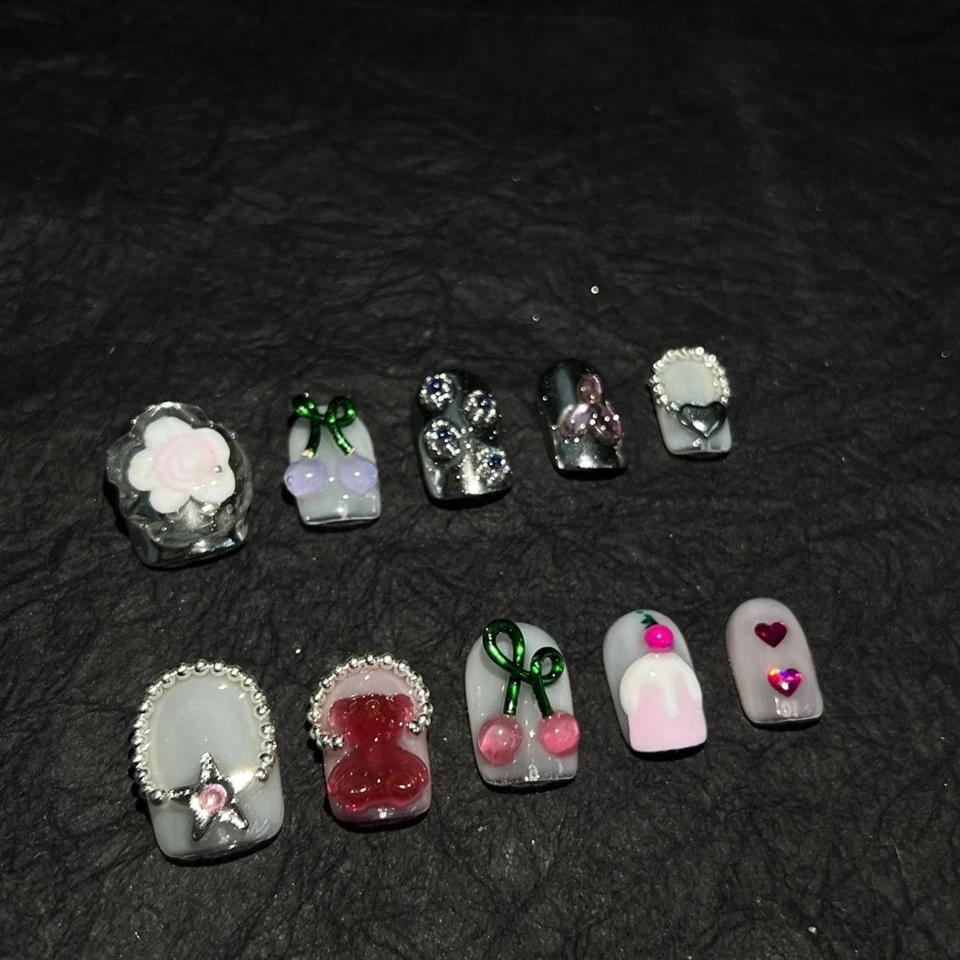
Plaster print nails are a unique type of handmade nails that feature a three-dimensional stacked glue effect. They provide a sturdy and durable base for nail art, allowing you to create intricate designs with ease. Unlike traditional nail polish, plaster print nails offer a more textured and dimensional look, making them perfect for animal print designs.
Materials Needed
- Plaster Print Nails: Choose a set of plaster print nails in a neutral color such as white, beige, or black. These colors will serve as the base for your animal print design.
- Nail Glue or Adhesive Tabs: To attach the plaster print nails to your natural nails.
- Nail Polish in Animal Print Colors: Select nail polishes in colors that mimic the patterns of your desired animal print. For example, for a leopard print, you'll need black, brown, and beige nail polishes.
- Dotting Tools or Fine-Tip Brushes: These tools will help you create the small dots and lines that are characteristic of animal print designs.
- Top Coat: To seal and protect your nail art.
Step-by-Step Guide
Step 1: Prepare Your Natural Nails
Before applying the plaster print nails, it's important to prepare your natural nails. Start by removing any existing nail polish and gently buff the surface of your nails to remove any oils or debris. This will help the nail glue or adhesive tabs adhere better to your nails.
Step 2: Attach the Plaster Print Nails
Choose the correct size of plaster print nails for each of your fingers. Apply a small amount of nail glue to the back of the nail or use an adhesive tab, and carefully press the nail onto your natural nail. Hold it in place for a few seconds to ensure a secure bond. Repeat this process for all of your fingers.
Step 3: Apply the Base Color
Once the plaster print nails are attached, apply a base coat of nail polish in a neutral color. This will create a smooth surface for your animal print design. Allow the base coat to dry completely before proceeding to the next step.
Step 4: Create the Animal Print Design
Using your dotting tools or fine-tip brushes, start creating the animal print design on your nails. The process will vary depending on the type of animal print you want to achieve. Here are some common animal print designs and how to create them:
Leopard Print
- Brown Dots: Dip your dotting tool or fine-tip brush into the brown nail polish and create small dots randomly on your nails. Vary the size and spacing of the dots to mimic the look of a leopard's spots.
- Black Outline: Use the black nail polish to outline the brown dots. This will give the leopard print a more defined look.
- Beige Background: Fill in the spaces between the dots with the beige nail polish to create the background color of the leopard print.
Zebra Print
- Black Lines: Use the black nail polish and a fine-tip brush to create thin, straight lines on your nails. Vary the length and spacing of the lines to mimic the look of a zebra's stripes.
- White Background: Fill in the spaces between the black lines with the white nail polish to create the background color of the zebra print.
Snake Print
- Green and Yellow Dots: Dip your dotting tool or fine-tip brush into the green and yellow nail polishes and create small dots in an alternating pattern on your nails. Vary the size and spacing of the dots to mimic the look of a snake's scales.
- Black Outline: Use the black nail polish to outline the green and yellow dots. This will give the snake print a more defined look.
Step 5: Seal the Design
Once you're satisfied with your animal print design, apply a top coat of nail polish to seal and protect your nail art. Allow the top coat to dry completely before using your hands.
Tips and Tricks
- Practice on a Scrap Piece of Paper: Before applying the animal print design to your nails, practice on a scrap piece of paper to get the hang of using the dotting tools and fine-tip brushes.
- Use Light Layers: When applying the nail polish, use light layers to avoid making the design look too thick or clumpy.
- Let Each Layer Dry Completely: Make sure each layer of nail polish is completely dry before applying the next layer. This will prevent smudging and ensure a smooth finish.
- Experiment with Different Colors and Patterns: Don't be afraid to experiment with different colors and patterns to create a unique animal print design that suits your style.
Other Handmade Nail Options
In addition to plaster print nails, we also offer a variety of other handmade nails, including Fruit Solid Nails and Swirl Lines Nails. These nails are also made with high-quality materials and feature unique designs that are sure to make a statement.
Conclusion
Creating an animal print design with plaster print nails is a fun and creative way to express your personal style. By following the steps outlined in this guide and using the right materials and tools, you can achieve a professional-looking manicure that will turn heads. If you're interested in purchasing our plaster print nails or other handmade nails, please feel free to contact us for more information. We're always happy to help you find the perfect nails for your needs.

References
- “Nail Art Basics: How to Create Animal Prints.” Nail Art 101, Accessed [Date].
- “The Ultimate Guide to Plaster Print Nails.” Nail Magazine, Accessed [Date].
