


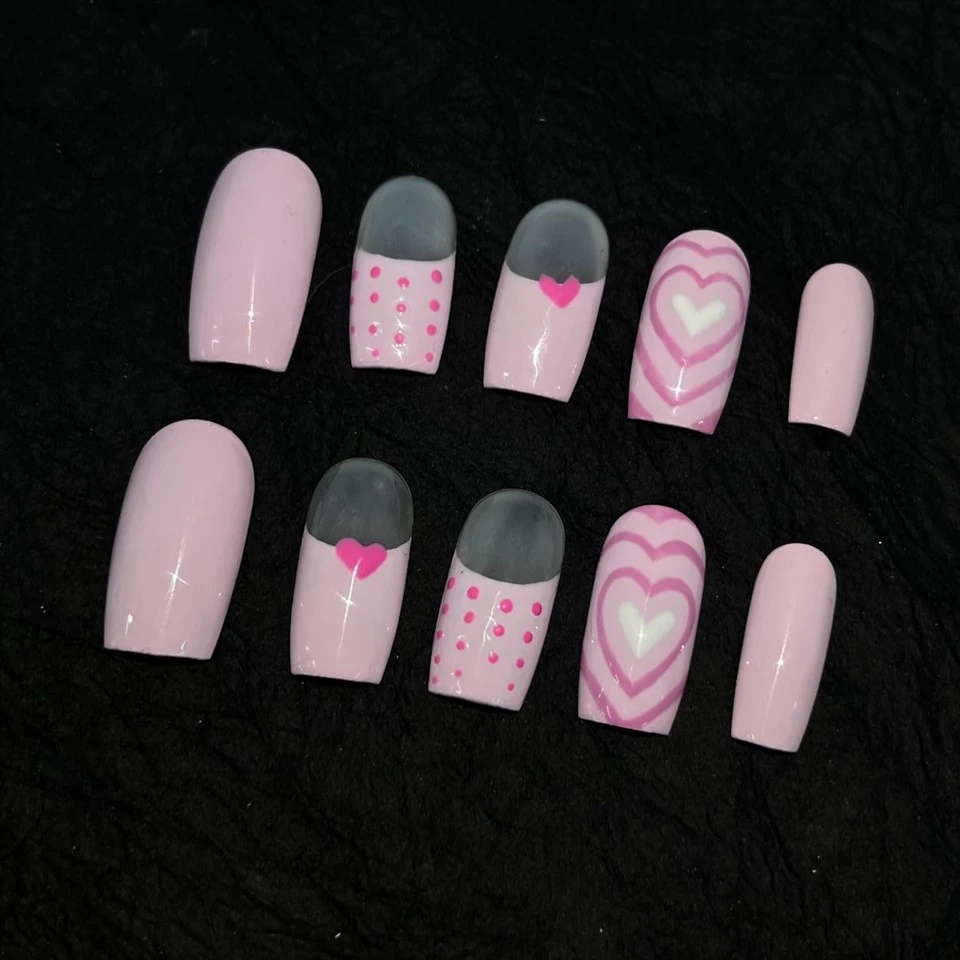
Creating a heart pattern on nails with a sponge is a fun and creative way to add a touch of romance and charm to your manicure. As a Heart Pattern Nails supplier, I'm excited to share with you the step-by-step process of achieving this adorable nail art. Whether you're a beginner or an experienced nail artist, this technique is easy to master and will leave you with beautiful, eye-catching nails.
Materials You'll Need
- Nail Polish: Choose your base color and the colors you want to use for the heart pattern. For a classic look, you can use red and white, but feel free to get creative with other color combinations.
- Sponge: A small, natural sea sponge or a cosmetic sponge works best. Make sure it's clean and dry before use.
- Nail Polish Remover: To clean up any mistakes or excess polish.
- Cotton Balls or Q-tips: For applying the nail polish remover.
- Top Coat: To seal the nail polish and make your manicure last longer.
Step 1: Prepare Your Nails
Start by trimming and filing your nails to your desired length and shape. Push back your cuticles gently using a cuticle pusher. Wash your hands thoroughly and dry them completely. Apply a base coat to your nails and let it dry completely. This will help the nail polish adhere better and prevent it from chipping.
Step 2: Choose Your Colors
Select the base color and the colors you want to use for the heart pattern. You can choose two or more colors for a more vibrant look. For example, you can use a light pink base color and a darker pink and red for the heart pattern.
Step 3: Cut the Sponge
Take your sponge and cut it into a small, heart-shaped piece. You can use a pair of scissors or a heart-shaped cookie cutter to cut the sponge. Make sure the heart shape is small enough to fit on your nails.
Step 4: Apply the Base Color
Once your base coat is dry, apply your base color to your nails. Let it dry completely before moving on to the next step. This will ensure that the heart pattern stands out and looks more defined.

Step 5: Apply the Nail Polish to the Sponge
Pour a small amount of each nail polish color onto a plate or a piece of cardboard. Dab the heart-shaped sponge into the nail polish colors, starting with the lightest color and working your way to the darkest color. Make sure to cover the entire surface of the sponge with the nail polish.
Step 6: Apply the Heart Pattern
Press the nail polish-covered sponge gently onto your nails, starting from the tip of your nail and working your way towards the cuticle. Apply light pressure and make sure to cover the entire nail with the heart pattern. You can repeat this process on each nail until you achieve the desired look.
Step 7: Clean Up Any Mistakes
If you get any nail polish on your skin or cuticles, use a cotton ball or a Q-tip dipped in nail polish remover to clean it up. Be careful not to touch the nail polish on your nails, as this can smudge the pattern.
Step 8: Apply a Top Coat
Once the heart pattern is dry, apply a top coat to your nails. This will seal the nail polish and make your manicure last longer. Let the top coat dry completely before using your hands.
Tips and Tricks
- Use a thin layer of nail polish: Applying a thin layer of nail polish will help the heart pattern look more defined and prevent it from smudging.
- Let the nail polish dry completely between each layer: This will ensure that the nail polish doesn't smudge and that the heart pattern looks sharp.
- Experiment with different color combinations: You can use different color combinations to create unique and personalized heart patterns. For example, you can use pastel colors for a soft and feminine look or bright colors for a bold and vibrant look.
- Use a small sponge: A small sponge will give you more control over the heart pattern and make it easier to apply.
- Practice makes perfect: Don't be afraid to practice this technique on a piece of paper or a fake nail before applying it to your real nails. This will help you get the hang of it and improve your skills.
Other Patterns You Might Like
If you're interested in trying other nail art patterns, we also offer Cloud Pattern Nails and Astral Pattern Nails. These patterns are also easy to create and will add a touch of creativity and style to your manicure.
Contact Us for Procurement
If you're a retailer or a salon owner interested in purchasing our Heart Pattern Nails, we'd love to hear from you. We offer high-quality, handmade nails at competitive prices. Our nails are made with the finest materials and are available in a variety of colors and designs. Contact us today to start a procurement discussion and see how we can meet your nail art needs.
References
- "Nail Art for Beginners: How to Create a Heart Pattern with a Sponge." Nail Art Academy.
- "The Ultimate Guide to Nail Polish Application." Byrdie.
- "How to Make Your Manicure Last Longer." Cosmopolitan.
