


As a dedicated supplier of Cloud Pattern Nails, I'm thrilled to share with you the art and process of creating these mesmerizing nail designs. Cloud pattern nails have gained immense popularity in recent years, offering a dreamy and ethereal look that can transform any manicure into a work of art. In this blog post, I'll guide you through the step-by-step process of creating cloud pattern nails, from gathering the necessary materials to adding those final touches.
Gathering Your Materials
Before you embark on your cloud pattern nail journey, it's essential to gather all the materials you'll need. Here's a list to get you started:
- Base Coat: A good base coat will protect your natural nails and provide a smooth surface for the nail polish to adhere to.
- White Nail Polish: This will be the base color for your clouds.
- Blue, Purple, or Pink Nail Polish: These colors will be used to create the cloud gradients. You can choose any shades that you like, but pastel colors tend to work best for a soft and dreamy look.
- Black Nail Polish: This will be used for the cloud outlines and any additional details.
- Nail Art Brushes: You'll need a variety of nail art brushes, including a thin brush for outlining and a wide brush for applying the base colors.
- Sponge: A makeup sponge or a small piece of foam can be used to create the cloud effect.
- Top Coat: A top coat will seal in your design and give your nails a shiny finish.
Preparing Your Nails
The first step in creating cloud pattern nails is to prepare your natural nails. Start by trimming and filing your nails to your desired length and shape. Then, gently push back your cuticles using a cuticle pusher. Next, wash your hands thoroughly to remove any dirt or oils from your nails.
Once your nails are clean and dry, apply a thin layer of base coat to each nail. Allow the base coat to dry completely before moving on to the next step. This will help prevent your nail polish from chipping and ensure a long-lasting manicure.
Applying the Base Color
Once your base coat is dry, it's time to apply the base color for your clouds. Using a wide nail art brush, apply a thin layer of white nail polish to each nail. Make sure to cover the entire nail surface evenly. Allow the white nail polish to dry completely before moving on to the next step.
Creating the Cloud Gradient
Now comes the fun part – creating the cloud gradient! Take a makeup sponge or a small piece of foam and dip it into your chosen blue, purple, or pink nail polish. Dab the sponge gently onto your nails, starting from the tip of the nail and working your way down towards the cuticle. The goal is to create a soft, blended gradient that mimics the look of a cloud.
You can repeat this process with different colors to create a more complex gradient. For example, you can start with a light blue color at the tip of the nail and gradually blend it into a darker blue or purple color towards the cuticle. Experiment with different color combinations to find the look that you like best.
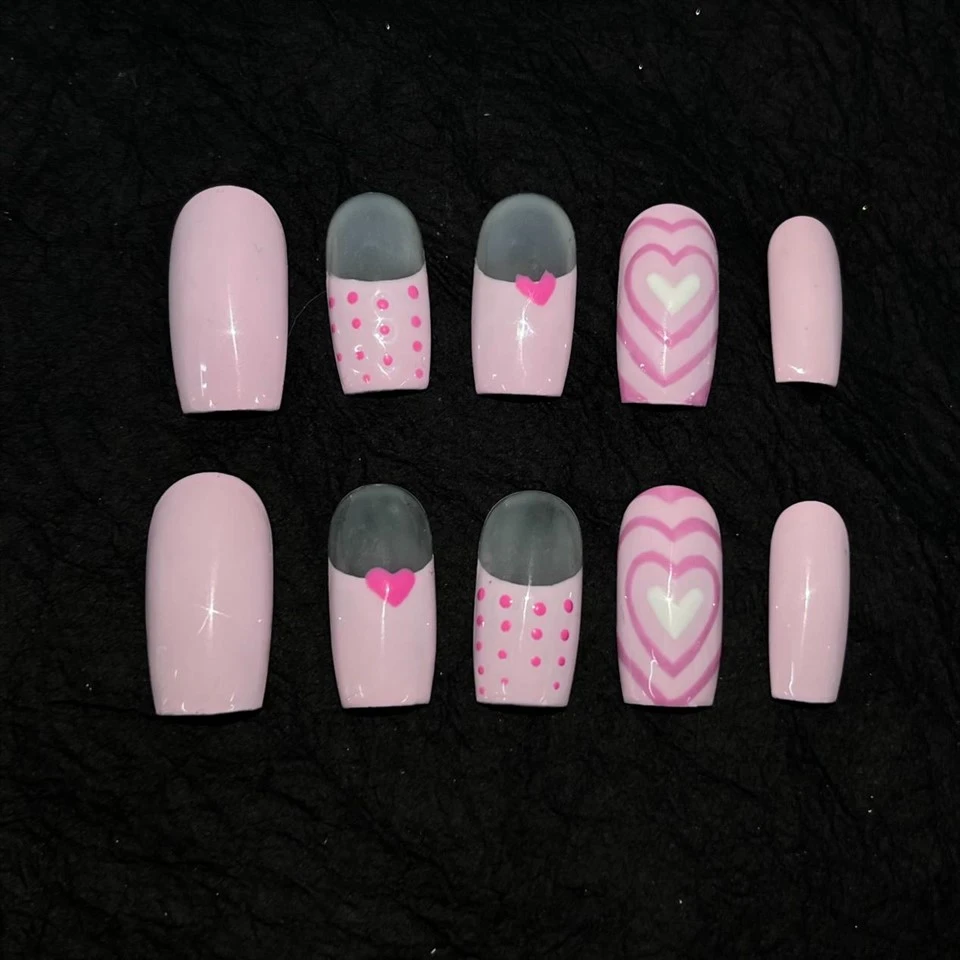

Adding the Cloud Outlines
Once your cloud gradient is dry, it's time to add the cloud outlines. Using a thin nail art brush and black nail polish, carefully draw the outlines of the clouds on your nails. You can create different shapes and sizes of clouds to add variety to your design.
To make your clouds look more realistic, you can add some wavy lines or curves to the outlines. You can also add some small details, such as raindrops or lightning bolts, to make your design more interesting.
Finishing Touches
Once you're happy with your cloud outlines, it's time to add any additional details or embellishments. You can use rhinestones, studs, or glitter to add some sparkle to your nails. You can also use a nail art pen to add some text or patterns to your nails.
Finally, apply a thin layer of top coat to each nail to seal in your design and give your nails a shiny finish. Allow the top coat to dry completely before using your hands.
Tips and Tricks
- Practice makes perfect: Creating cloud pattern nails takes practice, so don't be discouraged if your first attempt doesn't turn out exactly as you hoped. Keep practicing, and you'll soon master the technique.
- Use a light hand: When applying the nail polish and creating the cloud gradient, it's important to use a light hand. This will help prevent the nail polish from looking too thick or clumpy.
- Let your nails dry completely between each step: This will help prevent your nail polish from smudging or peeling.
- Experiment with different colors and techniques: Don't be afraid to experiment with different colors and techniques to create your own unique cloud pattern nail design. You can try using different nail art tools, such as stencils or tape, to create different shapes and patterns.
Conclusion
Creating cloud pattern nails is a fun and creative way to express your personal style. With a little practice and the right materials, you can create beautiful and unique cloud pattern nails that will make you stand out from the crowd.
If you're interested in purchasing high-quality Cloud Pattern Nails, Cloud Pattern Nails are available from our wide range of products. We also offer other stunning designs such as Astral Pattern Nails and Heart Pattern Nails. If you're a retailer or interested in bulk purchasing, we invite you to contact us for procurement discussions. We're committed to providing you with the best products and services to meet your needs.
References
- Smith, J. (2022). The Ultimate Guide to Nail Art. New York: Fashion Press.
- Brown, A. (2021). Nail Art Trends for the Modern Woman. London: Beauty Books.
