


Are you a nail art enthusiast looking to add a touch of whimsy and creativity to your manicure? Drawing a cartoon rocket on cartoon handmade nails is a fun and unique way to express your personality and showcase your artistic skills. As a supplier of high-quality cartoon handmade nails, I'm excited to share with you a step-by-step guide on how to create this eye-catching design. Whether you're a beginner or an experienced nail artist, these tips and techniques will help you achieve professional-looking results.
Materials You'll Need
Before you start, gather the following materials:

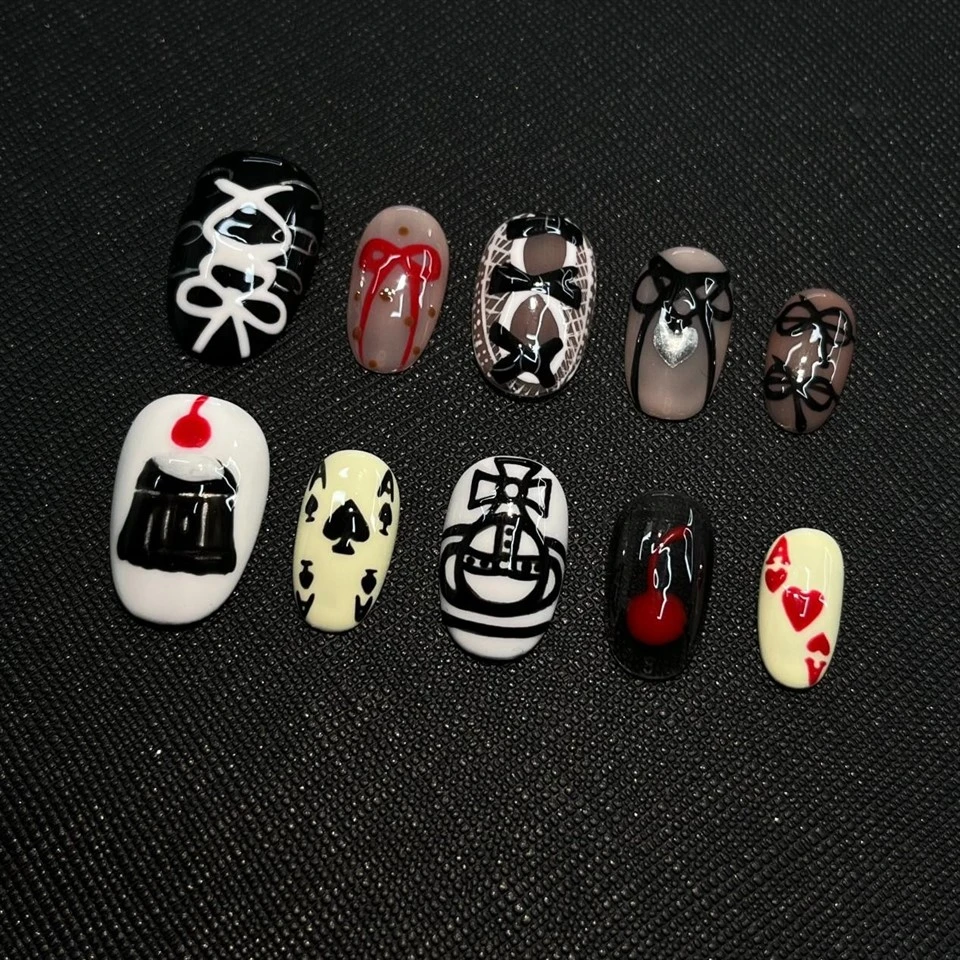
- Cartoon Handmade Nails: Choose a set of nails that are the right size and shape for your fingers. Our Poker Pattern Nails and Cherry Pattern Nails are great options to provide a base for your rocket design.
- Nail Polish: Select a variety of colors that you want to use for your rocket. Metallic silver, red, blue, and white are classic choices for a rocket theme.
- Nail Art Brushes: You'll need a set of small, fine-tip brushes for detailed work. A dotting tool can also be helpful for creating circular shapes.
- Top Coat: To seal in your design and make it last longer, apply a clear top coat.
- Base Coat: Apply a base coat to protect your natural nails and help the polish adhere better.
- Cotton Balls and Nail Polish Remover: In case you make a mistake, have these on hand to clean up any smudges.
Step 1: Prepare Your Nails
- Clean Your Nails: Start by removing any old nail polish using nail polish remover. Then, wash your hands thoroughly and dry them completely.
- File and Shape Your Nails: Use a nail file to shape your nails to your desired length and style. Smooth the edges to prevent snagging.
- Apply a Base Coat: Brush on a thin layer of base coat and let it dry completely. This will protect your nails and provide a smooth surface for the polish.
Step 2: Create the Rocket Body
- Choose Your Base Color: Select a metallic silver or gray nail polish for the rocket body. Apply two coats, allowing each coat to dry completely between applications.
- Draw the Rocket Shape: Using a fine-tip brush, draw the outline of the rocket on your nail. The rocket should have a pointed tip at the top and a wider base at the bottom. You can use a reference image to help you get the shape right.
- Fill in the Rocket: Once the outline is dry, fill in the rocket with the base color. Make sure to stay within the lines.
Step 3: Add Details to the Rocket
- Draw the Windows: Use a white or light blue nail polish to draw small circles or ovals on the rocket body to represent the windows. You can use a dotting tool or a fine-tip brush for this step.
- Create the Fins: Draw triangular shapes at the bottom of the rocket to represent the fins. Use a red or blue nail polish for a bold look.
- Add Stripes or Patterns: To make your rocket more interesting, you can add stripes or patterns using different colors of nail polish. For example, you can draw thin white stripes along the sides of the rocket.
Step 4: Draw the Flame
- Choose a Color: Select a bright red, orange, or yellow nail polish for the flame.
- Draw the Flame Shape: Using a fine-tip brush, draw a wavy shape at the bottom of the rocket to represent the flame. Start at the base of the rocket and curve the lines outward.
- Add Details: To make the flame look more realistic, you can add some shading and highlights. Use a lighter shade of the same color to add highlights and a darker shade to add shadows.
Step 5: Finish the Design
- Apply a Top Coat: Once all the nail polish is dry, apply a clear top coat to seal in the design and give it a shiny finish. Make sure to cover the entire nail, including the edges.
- Let It Dry: Allow the top coat to dry completely before using your hands. This will help prevent smudging and chipping.
Step 6: Showcase Your Design
- Take Photos: Once your nails are dry, take some photos to show off your amazing creation. You can share them on social media or with your friends and family.
- Experiment with Different Styles: Don't be afraid to experiment with different colors, shapes, and patterns to create your own unique rocket design. You can also try adding other elements, such as stars or planets, to make your nails even more out of this world.
Why Choose Our Cartoon Handmade Nails?
- High-Quality Materials: Our nails are made from premium materials that are safe and comfortable to wear. They are also durable and long-lasting, so you can enjoy your manicure for weeks.
- Unique Designs: We offer a wide range of cartoon handmade nails, including Poker Pattern Nails, Christmas Patterns for Nails, and Cherry Pattern Nails. Each design is carefully crafted to ensure that it looks beautiful and unique.
- Customization Options: If you have a specific design in mind, we can create custom-made nails just for you. Our team of skilled nail artists will work with you to bring your vision to life.
Contact Us for Procurement
If you're interested in purchasing our cartoon handmade nails or have any questions about our products, please don't hesitate to contact us. We're always happy to help and look forward to working with you. Whether you're a retailer, salon owner, or individual customer, we can provide you with the perfect nails for your needs.
References
- "The Complete Guide to Nail Art" by Sally Hansen
- "Nail Art for Beginners" by Jane Smith
