


Hey there, nail art enthusiasts! I'm stoked to share my passion for cartoon handmade nails with you all. As a long - time supplier of these funky and creative nail sets, I've seen all the trends come and go. Today, I'm going to walk you through the super fun process of drawing a vampire on cartoon handmade nails.
Preparing Your Workspace and Materials
Before we get started, you'll wanna set up a nice and cozy workspace. Find a spot where you can spread out your tools without feeling cramped. Good lighting is key; you don't wanna be squinting while trying to make those tiny vampire details.
Now, let's talk about what you'll need. First off, you need a set of blank cartoon handmade nails. If you're into getting high - quality ones, well, that's where I come in as your friendly supplier! Other essentials include nail polishes in black, white, red, and purple. Black will be your go - to for outlining and creating those dark, vampy features. White is great for the eyes and highlights. Red is a must for the lips and the blood, of course. And purple can add some extra spooky vibes to the background or the vampire's clothes.
You'll also require some nail art brushes. A tiny detail brush is perfect for the finer points, like the pupils of the eyes and the fangs. A medium - sized brush will work well for filling in larger areas, such as the vampire's face or cloak. Oh, and don't forget a top coat to seal everything in and give your nails that shiny finish.
Base Coat and Background
Let's kick things off by applying a base coat to your nails. This not only protects your natural nails but also gives the nail polish a better grip. Once the base coat is dry, it's time to think about the background for your vampire. You could go for a classic black or a deep purple to set that spooky mood.
Using your medium - sized brush, carefully paint the background color on each nail. Make sure to get an even coat and let it dry completely. If you want to add a bit more depth, you can do a gradient effect. For example, start with a darker shade at the bottom of the nail and blend it into a lighter shade towards the tip. This will make your vampire really stand out.
Drawing the Vampire's Face
Now comes the fun part – drawing the vampire's face. Start with a small oval shape for the head using your black nail polish and the detail brush. You can free - hand it or use a stencil if you're not feeling super confident.
Next, add the eyes. Draw two small circles with the white nail polish in the upper part of the oval. Then, using the black polish, draw tiny pupils in the center of the white circles. Make the pupils slightly elongated to give the vampire a more menacing look.
The nose can be a simple triangle or a small line. Keep it subtle, as vampires usually have a sharp, angular appearance. Now, for the lips. Trace a pair of lips with the red nail polish, making them full and slightly open to show off those fangs.

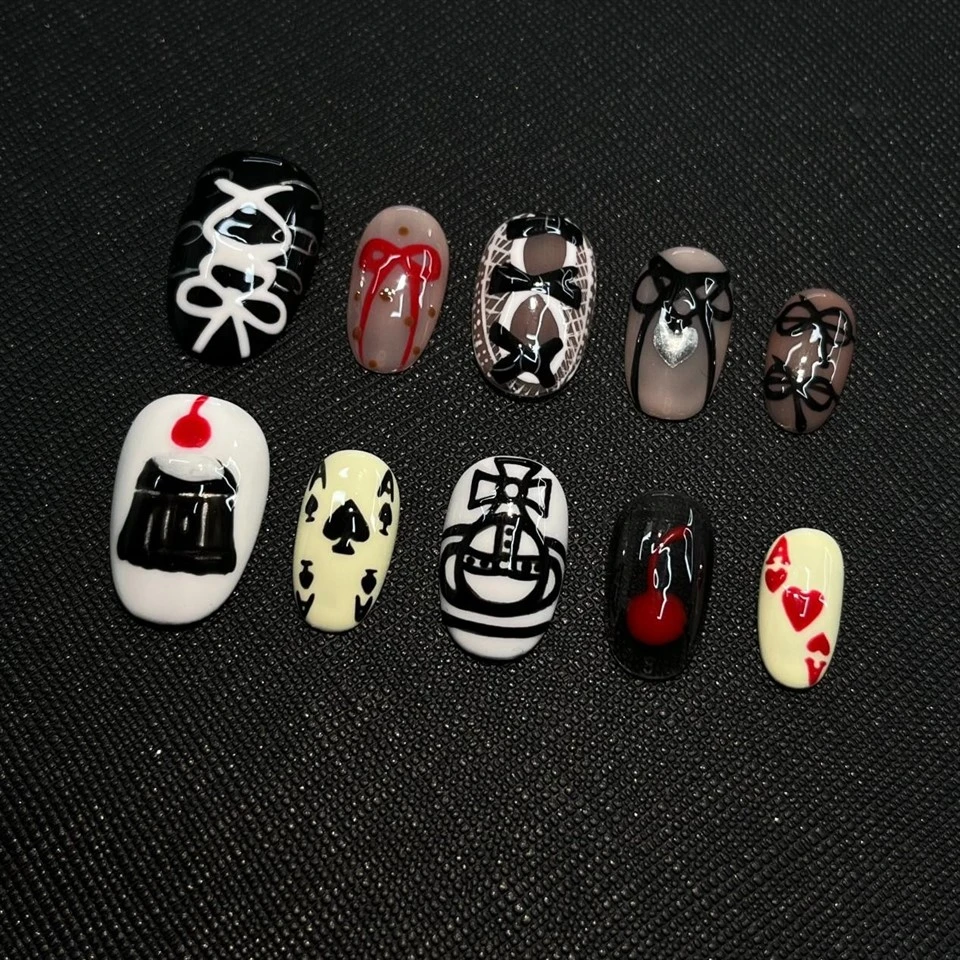
Speaking of fangs, draw two sharp, triangular shapes at the front of the mouth using the white polish. Then, outline them with the black polish to make them pop. You can also add a drop of red polish at the tip of each fang to represent blood.
The Vampire's Body
Once the face is done, it's time to add the body. Vampires are often depicted wearing long, flowing cloaks. Use the black nail polish and the medium - sized brush to draw a large, curved shape that covers most of the nail below the head. You can add some folds to the cloak by drawing a few wavy lines with the black polish.
If you want to get a bit more creative, you can add a shirt or a collar under the cloak. A white or light - colored shirt can create a nice contrast with the dark cloak. Use the appropriate nail polish and the detail brush to draw the shirt and any buttons or details you like.
Adding Finishing Touches
To make your vampire look even more awesome, you can add some extra details. You could draw some bats flying around the vampire using the black polish and the detail brush. Just draw small, triangular shapes for the wings and a tiny oval for the body.
Another cool idea is to add some stars or moons in the background. Use the white polish to create small dots for the stars and a crescent shape for the moon. This will give your nails a celestial, spooky look.
Once you're happy with all the details, apply a top coat to seal the design. Let it dry completely, and voila! You've got yourself a set of vampire - themed cartoon handmade nails.
Other Cool Patterns
If you're not feeling the vampire look all the time, we've got tons of other amazing patterns. Check out our Christmas Patterns for Nails for a festive touch. With these, you'll be all set for the holiday season. And if you're into a bit of a gambling - inspired look, our Poker Pattern Nails are super fun. For a sweet and cute option, don't miss out on our Cherry Pattern Nails.
Let's Connect!
I hope this guide has inspired you to get creative with your nail art. Whether you're a professional nail artist looking for bulk supplies or an individual who loves to do their nails at home, I'm here to help. If you're interested in purchasing our high - quality cartoon handmade nails, feel free to reach out. We can discuss the best options for you, whether it's custom designs or our existing patterns. Let's make your nail art dreams come true!
References
- Personal experience as a cartoon handmade nails supplier
- Various nail art blogs and magazines for inspiration
