


Ombre painted nails have become a popular trend in the world of nail art, offering a gradient effect that adds depth and dimension to your manicure. As a supplier of Ombre Painting Nails, I've had the privilege of witnessing the transformative power of this technique firsthand. In this blog post, I'll share some expert tips on how to make ombre painted nails look more professional, ensuring that your clients or customers are left with stunning results.
Understanding the Basics of Ombre Nail Art
Before diving into the tips, it's essential to understand the fundamentals of ombre nail art. Ombre is a French term that means "shaded" or "faded." In nail art, it refers to the gradual transition of color from one shade to another, creating a soft, blended effect. This technique can be achieved using various methods, including sponges, brushes, or airbrushing.
Choosing the Right Colors
The key to a professional-looking ombre manicure starts with selecting the right colors. When choosing your color palette, consider the skin tone of your client or the overall aesthetic you're trying to achieve. For a classic and timeless look, opt for complementary colors that blend well together. For example, a combination of pastel pink and white creates a soft and feminine ombre effect, while a gradient of black and silver adds a touch of sophistication.

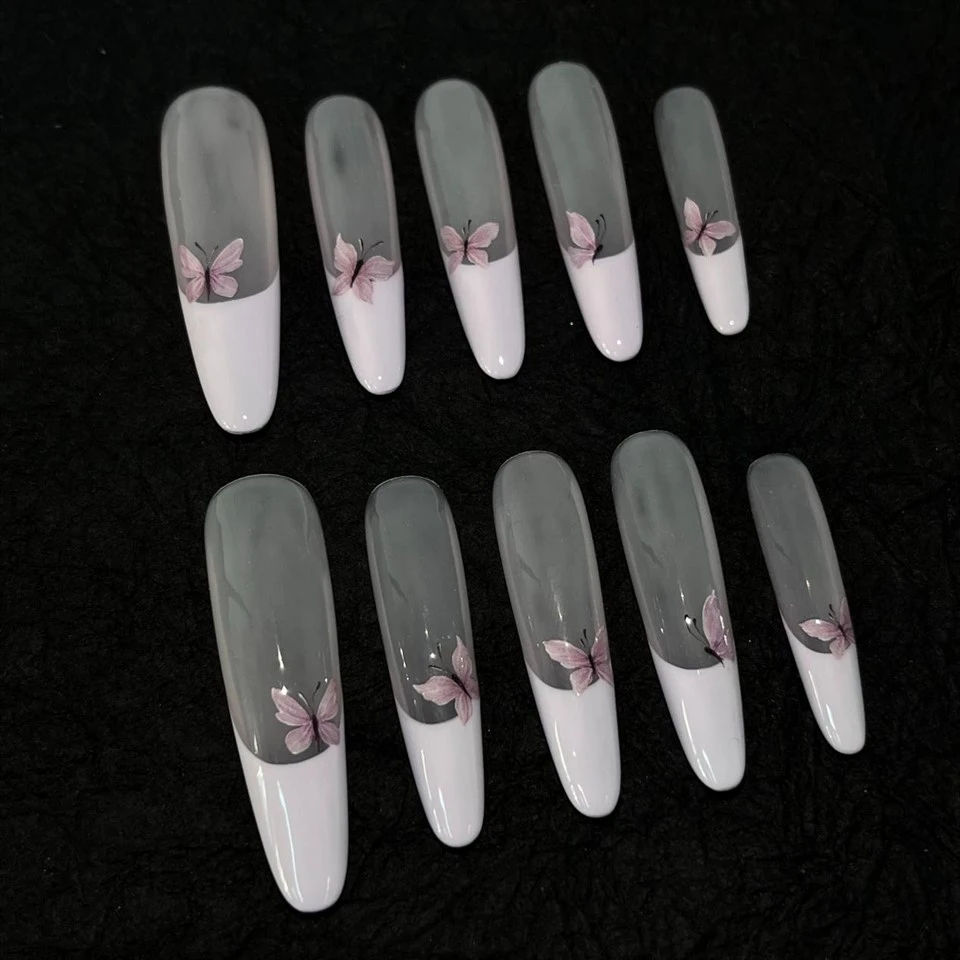
Preparing the Nails
Proper nail preparation is crucial for a long-lasting and professional-looking ombre manicure. Start by shaping the nails to your desired length and filing the edges to smooth out any rough spots. Next, gently push back the cuticles using a cuticle pusher and trim any excess cuticles. Finally, clean the nails thoroughly to remove any dirt, oil, or debris.
Applying the Base Coat
Once the nails are prepared, apply a thin layer of base coat to protect the nails and create a smooth surface for the ombre effect. Allow the base coat to dry completely before proceeding to the next step.
Creating the Ombre Effect
There are several methods you can use to create the ombre effect, but one of the most popular and effective techniques is the sponge method. Here's how to do it:
- Choose your colors: Select two or more nail polish colors that you want to use for your ombre effect. It's best to choose colors that are in the same color family but vary in intensity.
- Prepare the sponge: Cut a small piece of makeup sponge into a rectangular shape. Dip the sponge into the first nail polish color and blot it on a piece of paper to remove any excess polish.
- Apply the first color: Place the sponge on the tip of the nail and gently press down, transferring the polish onto the nail. Start with a light layer and gradually build up the color for a more intense ombre effect.
- Apply the second color: Dip the sponge into the second nail polish color and repeat the process, starting from the middle of the nail and blending it into the first color. Continue this process with additional colors if desired.
- Blend the colors: Use a clean sponge or a makeup brush to blend the colors together for a seamless ombre effect. Make sure to blend the colors well to avoid any harsh lines or streaks.
Using an Airbrush
Another method for creating a professional-looking ombre effect is using an airbrush. Airbrushing allows for more precise and controlled application of the nail polish, resulting in a smooth and even gradient. Here's how to use an airbrush for ombre nail art:
- Choose your colors: Select two or more nail polish colors that you want to use for your ombre effect. It's best to choose colors that are in the same color family but vary in intensity.
- Prepare the airbrush: Fill the airbrush with the first nail polish color and adjust the pressure and flow settings according to the manufacturer's instructions.
- Apply the first color: Hold the airbrush about 1-2 inches away from the nail and spray the polish onto the tip of the nail. Start with a light layer and gradually build up the color for a more intense ombre effect.
- Apply the second color: Fill the airbrush with the second nail polish color and repeat the process, starting from the middle of the nail and blending it into the first color. Continue this process with additional colors if desired.
- Blend the colors: Use a clean airbrush or a makeup brush to blend the colors together for a seamless ombre effect. Make sure to blend the colors well to avoid any harsh lines or streaks.
Adding a Top Coat
Once the ombre effect is complete, apply a thin layer of top coat to seal in the color and add shine to the nails. Allow the top coat to dry completely before using your hands or touching anything.
Tips for a Professional Finish
- Use high-quality nail polish: Invest in high-quality nail polish brands that offer long-lasting color and a smooth finish. Cheap nail polish may chip or peel easily, resulting in a less professional-looking manicure.
- Practice makes perfect: Creating a professional-looking ombre manicure takes practice. Don't be afraid to experiment with different colors and techniques until you find the ones that work best for you.
- Pay attention to detail: Take your time and pay attention to the details when creating the ombre effect. Make sure to blend the colors well and avoid any harsh lines or streaks.
- Use a steady hand: When applying the nail polish, use a steady hand to ensure a smooth and even application. If you're using an airbrush, practice your technique to achieve a more precise and controlled application.
- Finish with a clean-up: After the ombre effect is complete, use a small brush or a cotton swab dipped in nail polish remover to clean up any excess polish around the edges of the nails.
Additional Techniques and Ideas
- Add glitter or rhinestones: For a more glamorous and eye-catching look, add glitter or rhinestones to your ombre painted nails. You can apply the glitter or rhinestones directly onto the nail polish while it's still wet or use a clear top coat to seal them in.
- Create a reverse ombre: Instead of starting with a light color at the base of the nail and gradually transitioning to a darker color at the tip, try creating a reverse ombre by starting with a dark color at the base of the nail and gradually transitioning to a lighter color at the tip.
- Combine with other nail art techniques: Ombre painted nails can be combined with other nail art techniques, such as stamping, water marbling, or freehand painting, to create a unique and personalized look.
Conclusion
Creating a professional-looking ombre manicure requires patience, practice, and attention to detail. By following these tips and techniques, you can achieve a stunning ombre effect that will make your clients or customers look and feel their best. As a supplier of Ombre Painting Nails, I offer a wide range of high-quality nail products and tools to help you create beautiful and long-lasting ombre manicures. If you're interested in learning more about our products or would like to place an order, please don't hesitate to contact us. We're always happy to assist you and answer any questions you may have. Let's work together to create the perfect ombre painted nails for your clients or customers!
References
- "Nail Art Tutorial: How to Create an Ombre Manicure." Byrdie. Accessed October 20, 2023.
- "The Ultimate Guide to Ombre Nails." HelloGiggles. Accessed October 20, 2023.
- "Ombre Nail Art: Tips and Tricks for a Professional Finish." Allure. Accessed October 20, 2023.
