


Ombre painted nails have become a trendy and captivating nail art style that can elevate your overall look. As a supplier of Ombre Painting Nails, I've witnessed firsthand the allure and versatility of this nail art technique. In this blog, I'll share some expert tips on how to make ombre painted nails stand out, ensuring that your nails become a true fashion statement.
Understanding the Basics of Ombre Painted Nails
Before diving into the tips, let's briefly understand what ombre painted nails are. Ombre is a French term that means "shaded" or "graduated." In nail art, ombre refers to a technique where two or more nail polish colors blend seamlessly from one shade to another, creating a gradient effect. This technique can be applied in various ways, such as horizontal, vertical, or diagonal gradients, and can incorporate different color combinations to suit your personal style.
Choosing the Right Color Combination
One of the key factors in making ombre painted nails stand out is choosing the right color combination. The colors you select should complement each other and enhance the overall look of your nails. Here are some tips to help you choose the perfect color combination:
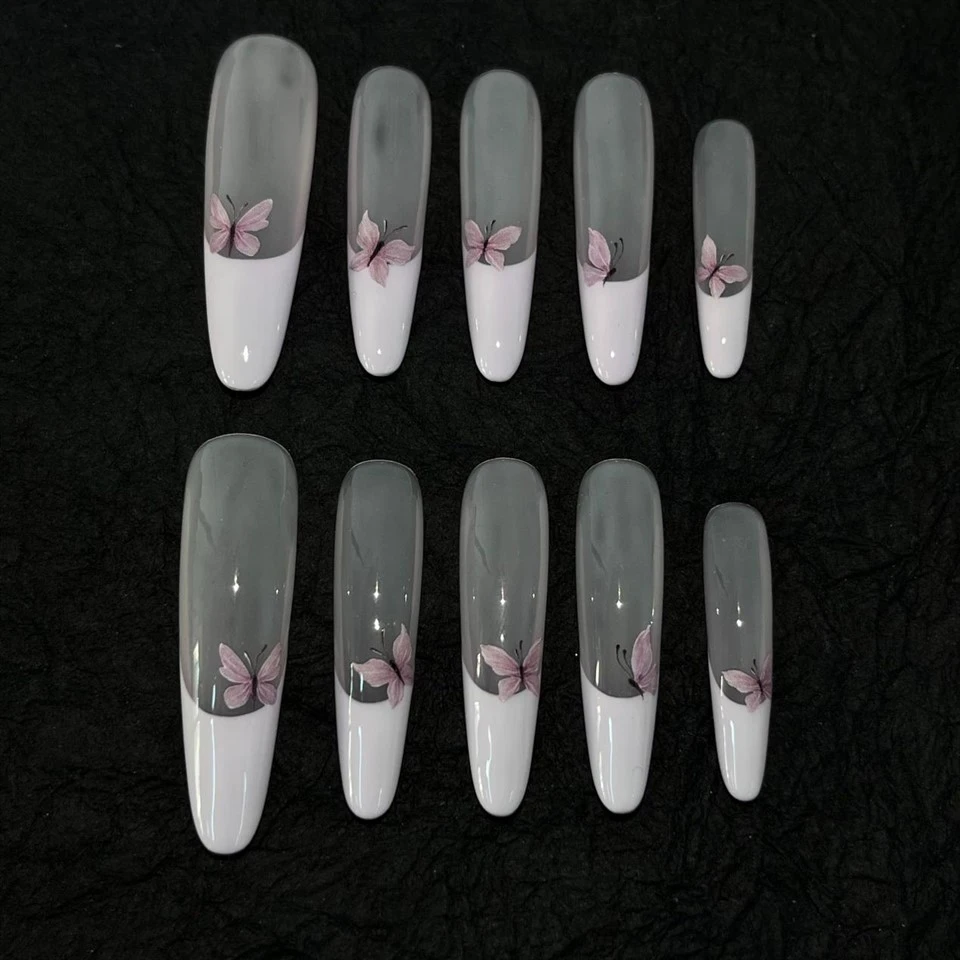
- Contrasting Colors: Opt for colors that are opposite each other on the color wheel, such as blue and orange or purple and yellow. Contrasting colors create a bold and eye-catching effect that is sure to turn heads.
- Monochromatic Colors: If you prefer a more subtle look, choose different shades of the same color. Monochromatic ombre nails create a sophisticated and elegant look that is perfect for any occasion.
- Seasonal Colors: Consider the season when choosing your color combination. For example, pastel colors are popular in the spring, while bright and bold colors are more suitable for the summer. In the fall, earthy tones and warm colors are a great choice, and in the winter, you can go for cool tones and metallic accents.
Preparing Your Nails
Proper nail preparation is essential for achieving long-lasting and beautiful ombre painted nails. Here's how you can prepare your nails:

- Trim and Shape: Start by trimming your nails to your desired length and shape. You can choose from a variety of shapes, such as square, oval, round, or almond.
- File and Buff: Use a nail file to smooth the edges of your nails and remove any rough spots. Then, use a buffer to gently buff the surface of your nails to create a smooth and even base for the nail polish.
- Cleanse and Dry: Wash your hands thoroughly with soap and water to remove any dirt, oil, or debris from your nails. Dry your hands completely with a clean towel.
- Apply a Base Coat: Apply a thin layer of base coat to your nails and let it dry completely. The base coat helps to protect your nails from staining and provides a smooth surface for the nail polish to adhere to.
Creating the Ombre Effect
Now that your nails are prepared, it's time to create the ombre effect. Here are two popular methods for creating ombre painted nails:
Sponge Method
- Choose Your Nail Polish Colors: Select two or more nail polish colors that you want to use for your ombre effect. Make sure the colors are in the same color family or complement each other.
- Prepare a Sponge: Cut a small piece of a makeup sponge or a foam nail art sponge. You can also use a kitchen sponge if you don't have a makeup sponge on hand.
- Apply Nail Polish to the Sponge: Dab the sponge into each nail polish color, starting with the lightest color and working your way up to the darkest color. Make sure to blend the colors together on the sponge to create a smooth gradient.
- Apply the Ombre to Your Nails: Press the sponge gently onto your nails, starting from the tip and working your way down to the cuticle. Repeat this process several times until you achieve the desired intensity of the ombre effect.
- Let the Nail Polish Dry: Let the nail polish dry completely before applying a top coat. This may take several minutes, depending on the type of nail polish you are using.
Brush Method
- Choose Your Nail Polish Colors: Select two or more nail polish colors that you want to use for your ombre effect. Make sure the colors are in the same color family or complement each other.
- Apply the Lightest Color: Start by applying a thin layer of the lightest nail polish color to your nails and let it dry completely.
- Apply the Darker Colors: Dip a small makeup brush or a nail art brush into the next darkest nail polish color. Starting from the tip of your nail, paint a thin line of the darker color along the edge of your nail. Then, use the brush to blend the darker color into the lighter color, creating a smooth gradient. Repeat this process with the remaining nail polish colors, working your way up to the darkest color.
- Let the Nail Polish Dry: Let the nail polish dry completely before applying a top coat. This may take several minutes, depending on the type of nail polish you are using.
Adding Accessories and Embellishments
To make your ombre painted nails stand out even more, you can add accessories and embellishments. Here are some ideas:
- Glitter: Add a touch of sparkle to your ombre nails by applying a layer of glitter nail polish on top of the ombre effect. You can choose from a variety of glitter colors and sizes to create a unique look.
- Rhinestones and Studs: Attach rhinestones or studs to your nails using nail glue or a rhinestone applicator. You can create a pattern or design with the rhinestones and studs to add a touch of glamour to your nails.
- Decals and Stickers: Apply nail decals or stickers to your nails to add a fun and creative element to your ombre nails. You can choose from a variety of designs, such as flowers, animals, or geometric shapes.
- Nail Art Brushes: Use nail art brushes to create intricate designs and patterns on your ombre nails. You can use different colors of nail polish and brush techniques to create a unique and personalized look.
Maintaining Your Ombre Painted Nails
To keep your ombre painted nails looking their best, it's important to take proper care of them. Here are some tips for maintaining your ombre painted nails:
- Apply a Top Coat: After your ombre painted nails are dry, apply a thin layer of top coat to protect the nail polish and add shine. You can reapply the top coat every few days to keep your nails looking fresh and vibrant.
- Avoid Harsh Chemicals: Avoid exposing your nails to harsh chemicals, such as cleaning products, detergents, and solvents. These chemicals can damage the nail polish and cause it to chip or peel.
- Wear Gloves: When doing household chores or other activities that involve water or chemicals, wear gloves to protect your nails.
- Moisturize Your Nails: Keep your nails and cuticles moisturized by applying a cuticle oil or hand cream regularly. This will help to prevent dryness and cracking, which can cause the nail polish to chip or peel.
- Touch Up Your Nails: If you notice any chips or peeling in your ombre painted nails, touch them up as soon as possible. You can use a small amount of the same nail polish colors to fill in the chips and blend them in with the rest of the ombre effect.
Showcasing Your Ombre Painted Nails
Once you've created your stunning ombre painted nails, it's time to show them off! Here are some ways to showcase your ombre painted nails:
- Take Photos: Take photos of your ombre painted nails and share them on social media. You can use hashtags such as #ombrepaintednails, #nailart, and #fashion to reach a wider audience.
- Attend Events: Wear your ombre painted nails to events and occasions where you want to make a statement. Whether it's a party, a wedding, or a night out with friends, your nails will surely get noticed.
- Get Creative: Experiment with different color combinations, designs, and accessories to create unique and personalized ombre painted nails. You can also try different nail art techniques, such as stamping, water marbling, or freehand painting, to add more dimension and interest to your nails.
Explore Our Other Nail Art Options
In addition to our Ombre Painting Nails, we also offer a wide range of other nail art options, including French Painting Nails, Coconut Tree Painting Nails, and Five Pointed Star Nails. These nail art styles are equally trendy and captivating, and they can help you express your personal style and creativity.

Contact Us for Procurement
If you're interested in purchasing our Ombre Painting Nails or any of our other nail art products, we'd love to hear from you. We offer high-quality products at competitive prices, and we're committed to providing excellent customer service. Please feel free to contact us to discuss your procurement needs and to learn more about our products.
References
- "Nail Art 101: How to Create Ombre Nails." Byrdie.
- "The Ultimate Guide to Ombre Nails." Allure.
- "Ombre Nails: A Step-by-Step Tutorial." HelloGiggles.
