


As a dedicated supplier of Scrub Monochrome Nails, I've delved deep into every aspect of nail artistry, especially the crucial step of applying a top coat. A well - applied top coat not only enhances the appearance of scrub monochrome nails but also extends their lifespan. In this blog, I'll share the best way to apply a top coat on scrub monochrome nails.
Understanding the Basics of Scrub Monochrome Nails
Scrub monochrome nails are a trendy and elegant choice in the world of nail art. They feature a single - color base that can range from classic neutrals like white, black, and nude to more vibrant shades. This simplicity gives them a sophisticated and clean look, suitable for various occasions. You can explore different styles of monochrome nails, such as Eco - friendly Monochrome Nails, Aurora Powder Monochrome Nails, and Ombre Monochrome Nails. Each style has its unique charm, but they all benefit greatly from a proper top - coat application.
Preparing the Nails
Before applying the top coat, it's essential to prepare the scrub monochrome nails properly.
- Clean the Nails: Start by removing any dirt, oil, or residue from the nail surface. You can use a gentle nail cleanser or rubbing alcohol on a cotton pad. Wipe each nail thoroughly, making sure to get rid of any debris around the edges and cuticles. This step ensures that the top coat adheres well to the nail.
- Buff the Nails (Optional): If the nail surface is a bit rough or uneven, you can lightly buff the nails. However, be careful not to over - buff, as this can damage the nail. A light buffing helps to create a smooth surface for the top coat, allowing it to spread evenly.
- Push Back the Cuticles: Use a cuticle pusher to gently push back the cuticles. This not only gives a neater appearance but also prevents the top coat from getting caught on the cuticles, which could lead to peeling or chipping.
Choosing the Right Top Coat
Selecting the appropriate top coat is crucial for achieving the best results on scrub monochrome nails.
- Gloss vs. Matte: Decide whether you want a glossy or matte finish. A glossy top coat will give your nails a shiny, wet - look appearance, enhancing the color and making it more vibrant. On the other hand, a matte top coat provides a sophisticated, velvety finish. Consider the occasion and your personal style when making this choice.
- Quality and Durability: Look for a top coat that is known for its quality and durability. A good top coat should resist chipping, scratching, and yellowing. Read reviews and choose a brand that has a good reputation in the nail art industry.
- Drying Time: Some top coats dry quickly, while others take longer. If you're in a hurry, opt for a fast - drying top coat. However, keep in mind that fast - drying formulas may sometimes sacrifice a bit of durability.
Applying the Top Coat
Now that you've prepared the nails and chosen the right top coat, it's time to apply it.
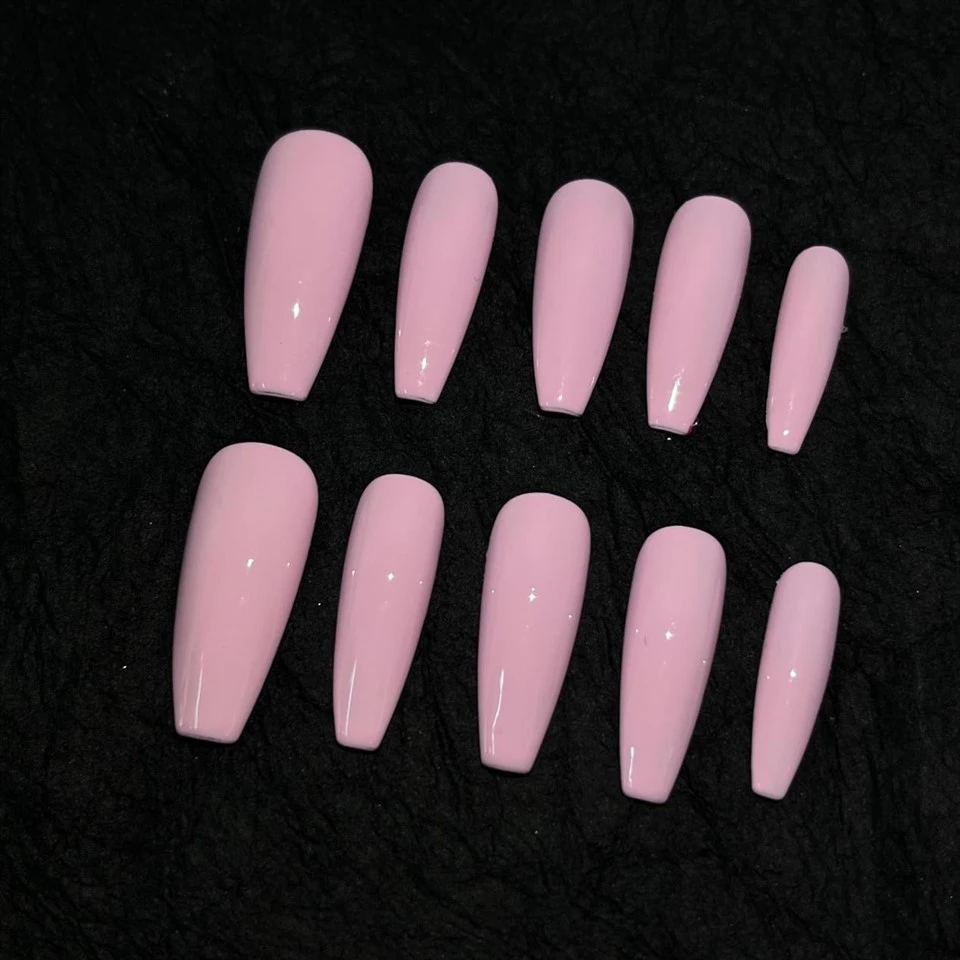

- Shake the Top Coat Well: Before using the top coat, give the bottle a good shake. This ensures that the formula is well - mixed and that any ingredients that may have settled at the bottom are evenly distributed.
- Apply a Thin First Layer: Dip the brush into the top coat, removing any excess by wiping it gently on the neck of the bottle. Start at the base of the nail and apply a thin layer of the top coat in one smooth stroke, moving towards the tip of the nail. Make sure to cover the entire nail surface, including the edges. Applying a thin layer helps to prevent bubbling and ensures a smooth finish.
- Let It Dry: Allow the first layer of the top coat to dry completely. This may take a few minutes, depending on the type of top coat you're using. You can use a nail dryer or simply wait patiently. Avoid touching or bumping the nails during this time to prevent smudging.
- Apply a Second Layer (Optional): If you want a more durable and high - shine finish, you can apply a second layer of the top coat. Follow the same process as the first layer, making sure to apply it evenly. However, be careful not to apply the second layer too thickly, as this can cause the top coat to peel or crack.
- Seal the Edges: Once the top coat is dry, use the brush to apply a small amount of top coat along the free edge of the nail. This helps to seal the edge and prevent the color from chipping.
Post - Application Care
After applying the top coat, there are a few things you can do to ensure its longevity.
- Avoid Water for a While: Try to avoid getting your nails wet for at least 30 minutes after applying the top coat. Water can soften the top coat and cause it to smudge or peel.
- Use Hand Cream: Keep your hands moisturized by applying hand cream regularly. This not only keeps your hands soft but also helps to prevent the nails from becoming dry and brittle, which can lead to chipping of the top coat.
- Be Gentle with Your Nails: Avoid using your nails as tools to open cans or scrape things. This can cause the top coat to chip or scratch.
Conclusion
Applying a top coat on scrub monochrome nails is a simple yet crucial step in achieving beautiful and long - lasting nail art. By following the steps outlined above, you can ensure that your nails look their best for days to come. Whether you're a professional nail artist or someone who loves doing their own nails at home, these tips will help you master the art of top - coat application.
If you're interested in purchasing high - quality Scrub Monochrome Nails for your salon or personal use, I invite you to reach out to me for a procurement discussion. I'm always happy to provide more information and assist you in finding the perfect nail products for your needs.
References
- "The Ultimate Guide to Nail Care" by Jane Smith
- "Nail Art Trends and Techniques" by Sarah Johnson
