


Creating a geometric lattice pattern on nails is a trendy and artistic way to enhance your nail game. As a supplier of Geometric Design Nails, I'm excited to share with you the step-by-step process of achieving this eye-catching look.
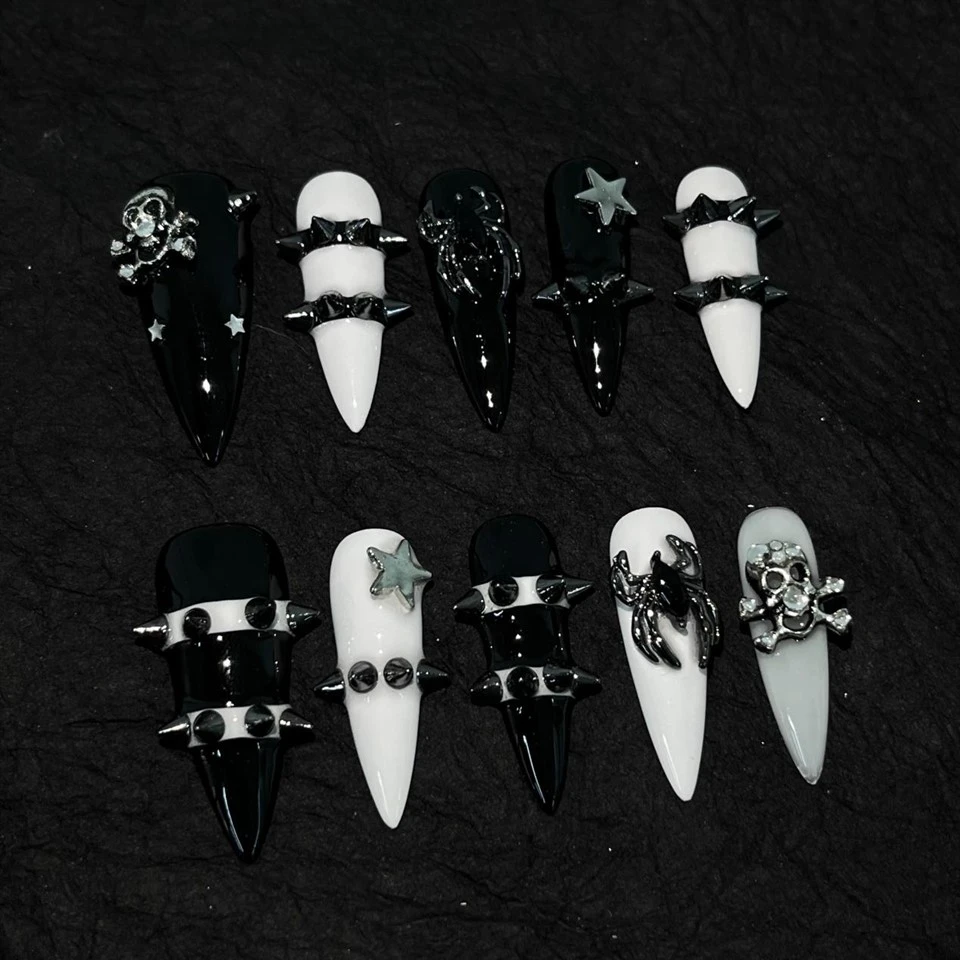

Understanding the Basics of Geometric Lattice Patterns
Geometric lattice patterns are characterized by their use of geometric shapes such as triangles, squares, and diamonds arranged in a repeating or non-repeating pattern. These patterns can be simple or complex, depending on your skill level and personal preference. The key to creating a successful geometric lattice pattern is to have a clear plan and use the right tools and products.
Tools and Materials You'll Need
- Nail Polish: Choose a base color and several accent colors that complement each other. You can also use metallic or glitter nail polish for added sparkle.
- Nail Art Brushes: Invest in a set of fine-tip nail art brushes for precise application. You'll need brushes of different sizes to create different elements of the pattern.
- Dotting Tools: Dotting tools are great for creating small dots and circles in the pattern. You can also use the end of a bobby pin or a toothpick as a makeshift dotting tool.
- Tape: Painter's tape or nail art tape can be used to create straight lines and clean edges in the pattern.
- Top Coat: A good top coat will seal the nail polish and protect the pattern from chipping and fading.
Step-by-Step Guide to Creating a Geometric Lattice Pattern
Step 1: Prepare Your Nails
Start by trimming and shaping your nails to your desired length and shape. File the edges of your nails to smooth them out. Then, wash your hands and dry them thoroughly to remove any dirt or oil from the nails. Apply a base coat to your nails and let it dry completely. This will help the nail polish adhere better and prevent staining.
Step 2: Choose Your Colors
Select a base color for your nails. This can be a neutral color like white, black, or nude, or a bold color that makes a statement. Apply two coats of the base color and let each coat dry completely before applying the next one. Once the base color is dry, choose two or three accent colors for the geometric lattice pattern. These colors should complement the base color and each other.
Step 3: Create the Lattice Structure
Using a fine-tip nail art brush and one of the accent colors, draw a horizontal line across the middle of your nail. Then, draw a vertical line intersecting the horizontal line at the center of the nail. These two lines will form the basic structure of the lattice pattern. Next, use the nail art brush to draw diagonal lines connecting the corners of the nail to the intersection point of the horizontal and vertical lines. This will create a grid-like pattern on the nail.
Step 4: Fill in the Shapes
Once the lattice structure is dry, use the nail art brush or a dotting tool to fill in the shapes created by the lines with the remaining accent colors. You can use different colors for each shape to create a more vibrant and dynamic pattern. Be careful not to let the colors bleed into each other. If you make a mistake, you can use a small brush dipped in nail polish remover to clean it up.
Step 5: Add Details and Embellishments
To make the geometric lattice pattern more interesting, you can add details and embellishments such as dots, stripes, or glitter. Use a dotting tool or a fine-tip nail art brush to add small dots in the center of each shape or along the edges of the lines. You can also use a striping brush to add thin stripes in between the shapes. If you want to add some sparkle, apply a layer of glitter nail polish over the pattern or use nail stickers or rhinestones to decorate the nails.
Step 6: Seal the Pattern
Once the pattern is dry, apply a top coat to your nails to seal the nail polish and protect the pattern from chipping and fading. Let the top coat dry completely before using your hands.
Tips and Tricks for a Perfect Geometric Lattice Pattern
- Practice on a piece of paper: If you're new to nail art, it's a good idea to practice the geometric lattice pattern on a piece of paper before trying it on your nails. This will help you get a feel for the tools and techniques and improve your skills.
- Use a steady hand: Creating a geometric lattice pattern requires a steady hand and precise application. Take your time and be patient. If your hand starts to shake, take a break and relax for a few minutes before continuing.
- Clean your tools regularly: To prevent the colors from mixing and to ensure a clean application, clean your nail art brushes and dotting tools regularly with nail polish remover.
- Experiment with different colors and shapes: Don't be afraid to experiment with different colors and shapes to create your own unique geometric lattice pattern. You can mix and match different colors, use different shapes, and add your own personal touch to make the pattern stand out.
Inspiration for Geometric Lattice Patterns
If you're looking for inspiration for your geometric lattice pattern, you can check out Halloween Graffiti Nails and Cutieip Graffiti Nails for some creative ideas. You can also browse through nail art magazines, websites, and social media platforms for inspiration.
Contact Us for Wholesale Purchase
As a leading supplier of Geometric Design Nails, we offer a wide range of high-quality nail art products at competitive prices. Whether you're a nail salon owner, a beauty retailer, or an individual looking to purchase nails in bulk, we can provide you with the products you need. Our products are made from the finest materials and are designed to last. We also offer custom design services, so you can create your own unique geometric lattice patterns for your nails.
If you're interested in purchasing our products, please contact us to discuss your requirements and to get a quote. We look forward to working with you and helping you take your nail art business to the next level.
References
- "Nail Art for Beginners: A Step-by-Step Guide." Nail Art Magazine, 2023.
- "Geometric Nail Art Trends for 2024." Beauty Blog, 2024.
- "How to Create a Geometric Lattice Pattern on Nails." YouTube Video, uploaded by Nail Art Tutorials, 2024.
