


Hey there, nail lovers! As a press on nail supplier, I've seen it all when it comes to applying glue for those gorgeous press on nails. It's a crucial step that can make or break your manicure, so today, I'm gonna share the best way to apply glue to press on nails.
First things first, let's talk about the importance of prepping your natural nails. You can't just slap on the press on nails without getting your natural nails in tip - top shape. Start by removing any old nail polish using a gentle nail polish remover. Make sure to choose one that's acetone - free if possible, as acetone can be really harsh on your nails.
After that, use a nail file to gently buff the surface of your nails. This isn't about making them super smooth; it's actually about creating a bit of texture so the glue can adhere better. But don't go overboard! You don't want to file your nails too thin or cause any damage. Just give them a light buff around the edges and across the surface.
Now, let's move on to the glue itself. There are a few different types of glue you can use for press on nails. The most common ones are nail glue and double - sided adhesive tabs. Each has its pros and cons, but in my opinion, nail glue gives you a more long - lasting hold.
When you're choosing nail glue, look for a high - quality one. Cheaper glues might not hold as well and could cause your press on nails to fall off quickly. A good nail glue should dry clear and be strong enough to keep your nails in place for at least a week or two.
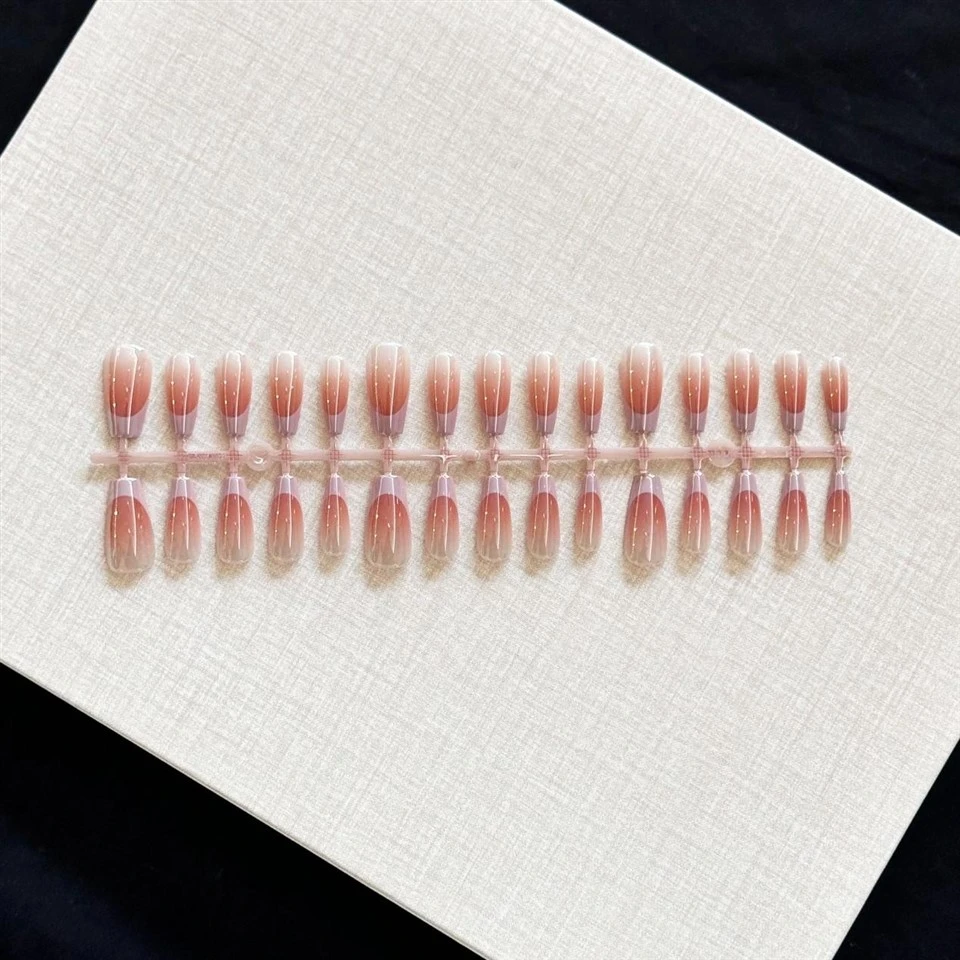
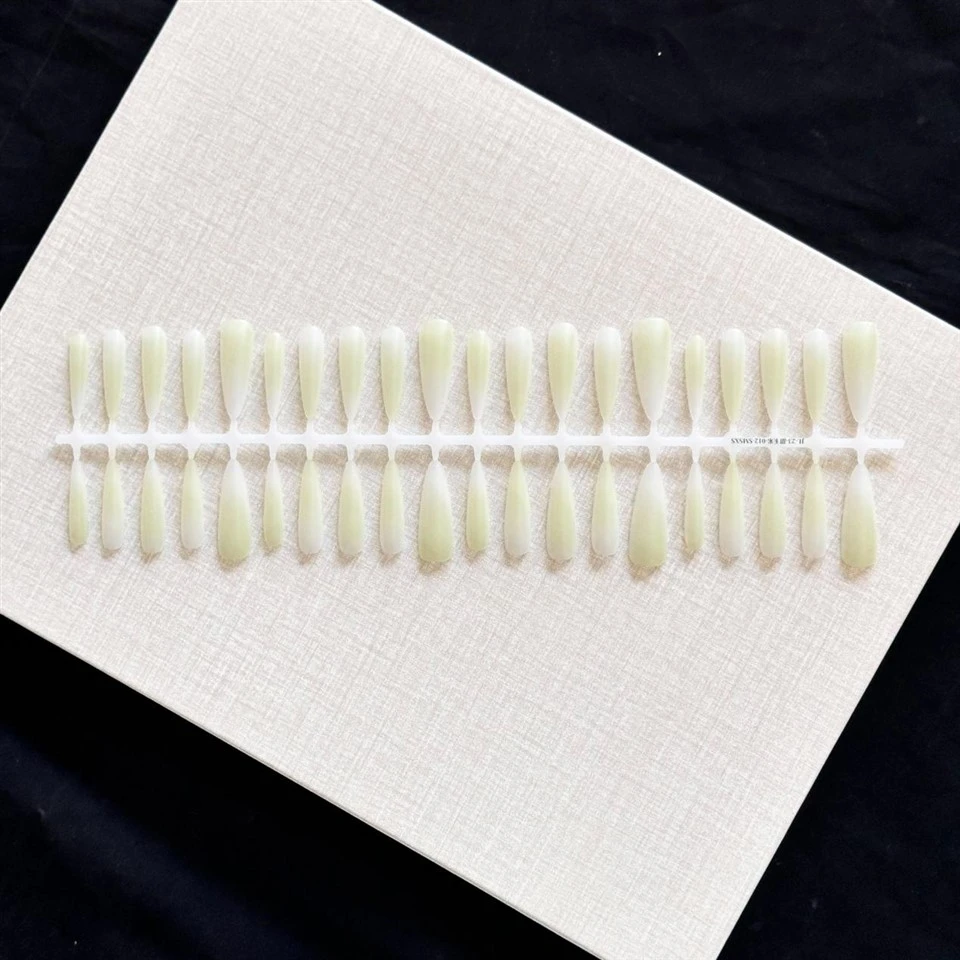
Before you start applying the glue, make sure you've selected the right size press on nails for your natural nails. You don't want them to be too big or too small. Try them on without any glue first to make sure they fit properly. We offer a wide range of sizes in our Solid Color Semi - finished Nails, Spray Gun Ombre Semi - finished Nails, and French Semi - finished Nails, so you're sure to find the perfect fit.
Okay, so you've prepped your nails and chosen the right size press on nails. Now it's time to apply the glue. Here's the step - by - step process:
- Squeeze a small amount of glue onto the back of the press on nail. You don't need a ton of it. A little goes a long way. Start with a dot in the center and then spread it out evenly across the surface using the tip of the glue bottle or a toothpick.
- Be careful not to get the glue on your skin. If you do, wipe it off immediately with a cotton swab dipped in nail polish remover.
- Once the glue is on the back of the press on nail, quickly place it on your natural nail. Press down firmly for about 10 - 15 seconds. Make sure it's aligned properly and there are no air bubbles between the press on nail and your natural nail.
- Hold your finger still for a few more seconds to let the glue start to dry. You might feel a little bit of heat as the glue sets, which is normal.
It's important to note that you should apply the press on nails one at a time. Don't try to apply glue to all of them at once and then place them on your nails because the glue will start to dry before you can get them all on.
If you're using double - sided adhesive tabs, the process is a bit different. First, peel off the backing from the tab and place it on the back of the press on nail. Then, remove the other backing and press the nail onto your natural nail. Press down firmly for a few seconds to make sure it sticks. Adhesive tabs are a bit more convenient and easier to remove, but they might not last as long as nail glue.
Another tip is to let the glue dry completely before you start using your hands for anything too strenuous. Avoid washing your hands or getting them wet for at least 30 minutes after applying the press on nails. This will give the glue enough time to fully set and create a strong bond.
Once your press on nails are on, you can add some extra protection by applying a top coat. This will not only make your nails look more shiny and finished but also help to seal the edges of the press on nails and prevent the glue from peeling off.
Now, let's talk about removing the press on nails. When it's time to take them off, don't just try to pull them off. This can damage your natural nails. Instead, soak your nails in warm, soapy water for about 10 - 15 minutes. This will help to loosen the glue. Then, gently push the edge of the press on nail with an orangewood stick or a cuticle pusher. The nail should start to come off easily. If there's still some glue left on your natural nails, you can use a little bit of nail polish remover to wipe it off.
In conclusion, the best way to apply glue to press on nails involves proper nail prep, choosing the right glue, and following the correct application process. Whether you're a beginner or a pro at doing your own nails, these tips will help you get a beautiful and long - lasting manicure.
If you're interested in our press on nails, we'd love to hear from you. We're always open to new partnerships and discussions about purchasing our high - quality products. Whether you're a salon owner looking to stock up or an individual who loves doing their own nails, we've got the perfect press on nails for you. Reach out to us and let's start a conversation about your nail needs!
References:
- General knowledge from years of experience in the press on nail industry.
- Insights from customers and nail enthusiasts.
